
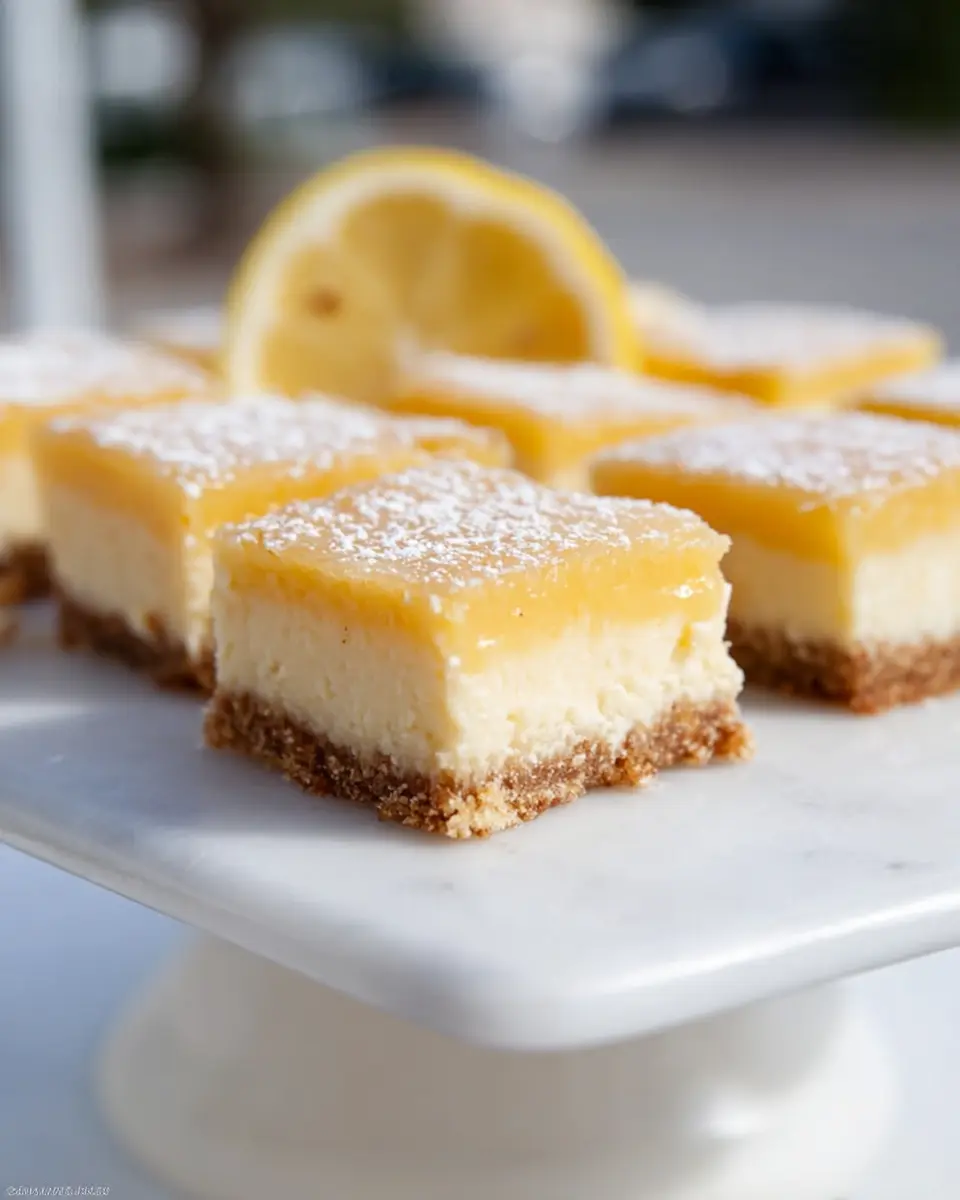
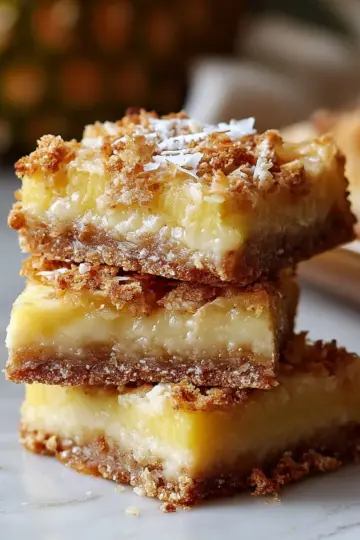
Introduction to Lemon Cheesecake Bars
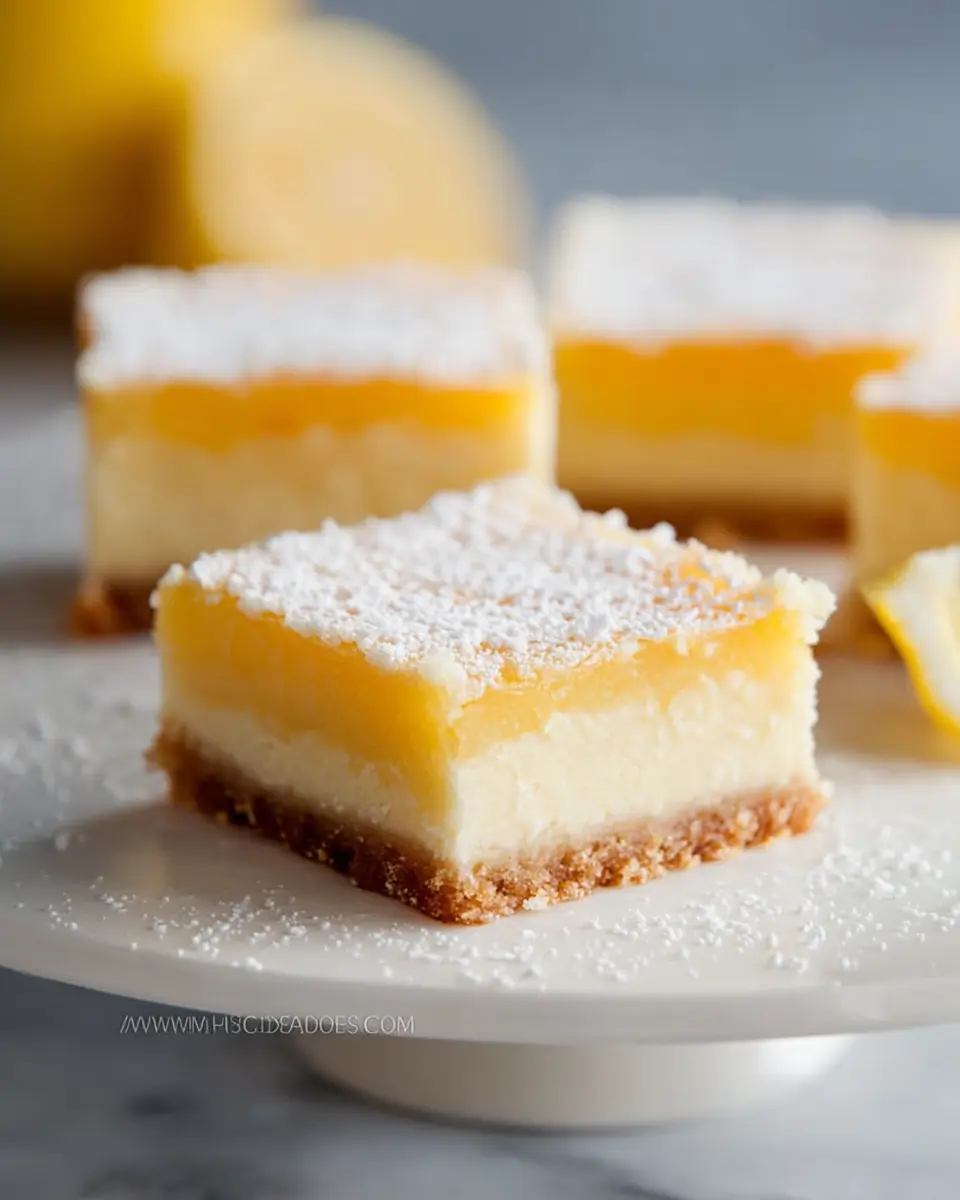
When it comes to desserts, Lemon Cheesecake Bars stand out as a crowd favorite. Their delightful blend of sweet and tangy flavors makes them an irresistible treat for any occasion. Imagine biting into a creamy cheesecake layer paired with a zesty lemon topping, all sitting atop a buttery shortbread crust. These bars are not just delicious; they're also incredibly versatile! Whether you’re hosting a summer barbecue, celebrating a birthday, or simply indulging in a weeknight treat, Lemon Cheesecake Bars fit the bill perfectly.
They’re easy to prepare in just about an hour and make for excellent leftovers. Feel free to prepare a batch ahead of time, as they keep well in the fridge for a few days, or even freeze them for longer storage. You can pull them out whenever a sweet craving hits or surprise friends with a delightful homemade dessert.
If you're looking for a light, refreshing dessert that feels special without requiring intense culinary skills, these bars are your answer. With a few simple ingredients and an easy-to-follow recipe, you’ll have a stunning dessert everyone will love. Ready to brighten up your dessert table? Let’s dive into the recipe!
Ingredients for Lemon Cheesecake Bars
Creating the perfect Lemon Cheesecake Bars begins with gathering the right ingredients. Each layer adds a unique flavor and texture to this delightful dessert. Here’s what you’ll need:
Shortbread Crust Ingredients
For a buttery base that balances the cheesecake and lemon layers, you'll need:
- 1 cup all-purpose flour
- ¼ cup cornstarch
- ¼ cup white sugar
- ½ cup salted butter
- 2 tablespoons grated lemon zest
The combination of flour and cornstarch creates a tender crust that is simple yet robust, perfect for holding all the delicious layers above.
Cream Cheese Layer Ingredients
Creaminess takes center stage in this layer. You'll require:
- 1 package (8 oz) cream cheese, cubed
- ½ cup white sugar
- 1 egg
This layer adds that classic cheesecake texture, making every bite rich and satisfying.
Lemon Layer Ingredients
The zingy lemon layer is where the magic happens. For this refreshing burst of flavor, gather:
- 4 extra-large eggs, room temperature
- 1⅔ cups white sugar
- ⅔ cup all-purpose flour
- ⅔ cup fresh lemon juice (about 2 to 3 large lemons)
This zesty layer elevates the bars, giving them that vibrant, refreshing taste we all love. If you’re looking to enhance your dessert repertoire, check out similar recipes from BBC Good Food or Food Network for inspiration.
Preparing Lemon Cheesecake Bars
Creating delightful Lemon Cheesecake Bars at home is a rewarding experience! The zesty flavor of lemon combined with creamy cheesecake makes for a perfect dessert that can impress at any gathering. Let’s walk through the process together with easy-to-follow steps.
Prep Your Kitchen
Before diving into the mixing and baking, let’s get your kitchen prepared. Start by preheating your oven to 350°F (175°C). While that’s warming up, grab a 9-inch square baking pan, grease it with a bit of butter, and then line the bottom with parchment paper. This ensures your bars come out easily without sticking!
Make the Shortbread Crust
Next, it’s time to whip up the shortbread crust, which provides a deliciously buttery base for your Lemon Cheesecake Bars. In a mixing bowl, combine:
- 1 cup of all-purpose flour
- ¼ cup of cornstarch
- ¼ cup of white sugar
- ½ cup of salted butter
- 2 tablespoons of grated lemon zest
Using a pastry blender or your fingers, mix these ingredients until the texture resembles coarse crumbs. Press this mixture firmly into the bottom of your prepared pan. Bake it in the oven for 15 minutes or until it’s lightly golden. Remove it from the oven and let it cool on a wire rack while you move on to the cream cheese layer.
Create the Cream Cheese Layer
In this step, you’ll create a rich and creamy layer that perfectly complements the tangy lemon. Using a stand mixer fitted with a paddle attachment, beat together:
- 1 package (8 oz) of cubed cream cheese
- ½ cup of white sugar
Mix until the blend is light and fluffy, typically about 3 to 4 minutes. Afterward, add in one egg, beating until fully incorporated. Pour this velvety mixture over your slightly cooled crust. Bake it for an additional 10 to 15 minutes until the top is slightly set but still creamy.
Whisk the Lemon Layer
Now comes the moment we’ve all been waiting for – the lemon layer! Gather together:
- 4 extra-large eggs
- 1⅔ cups of white sugar
- ⅔ cup of all-purpose flour
- ⅔ cup of freshly squeezed lemon juice (typically from 2 to 3 large lemons)
Using a whisk, combine all these ingredients until smooth. When your cream cheese layer has set enough, gently pour the lemon mixture over the top, trying not to disturb the cream cheese layer.
Bake and Set the Layers
Return to the oven for another 25 to 30 minutes. You’ll know they’re done when the center is just set. Allow your Lemon Cheesecake Bars to cool at room temperature and then refrigerate them uncovered for at least 3 hours to firm up completely.
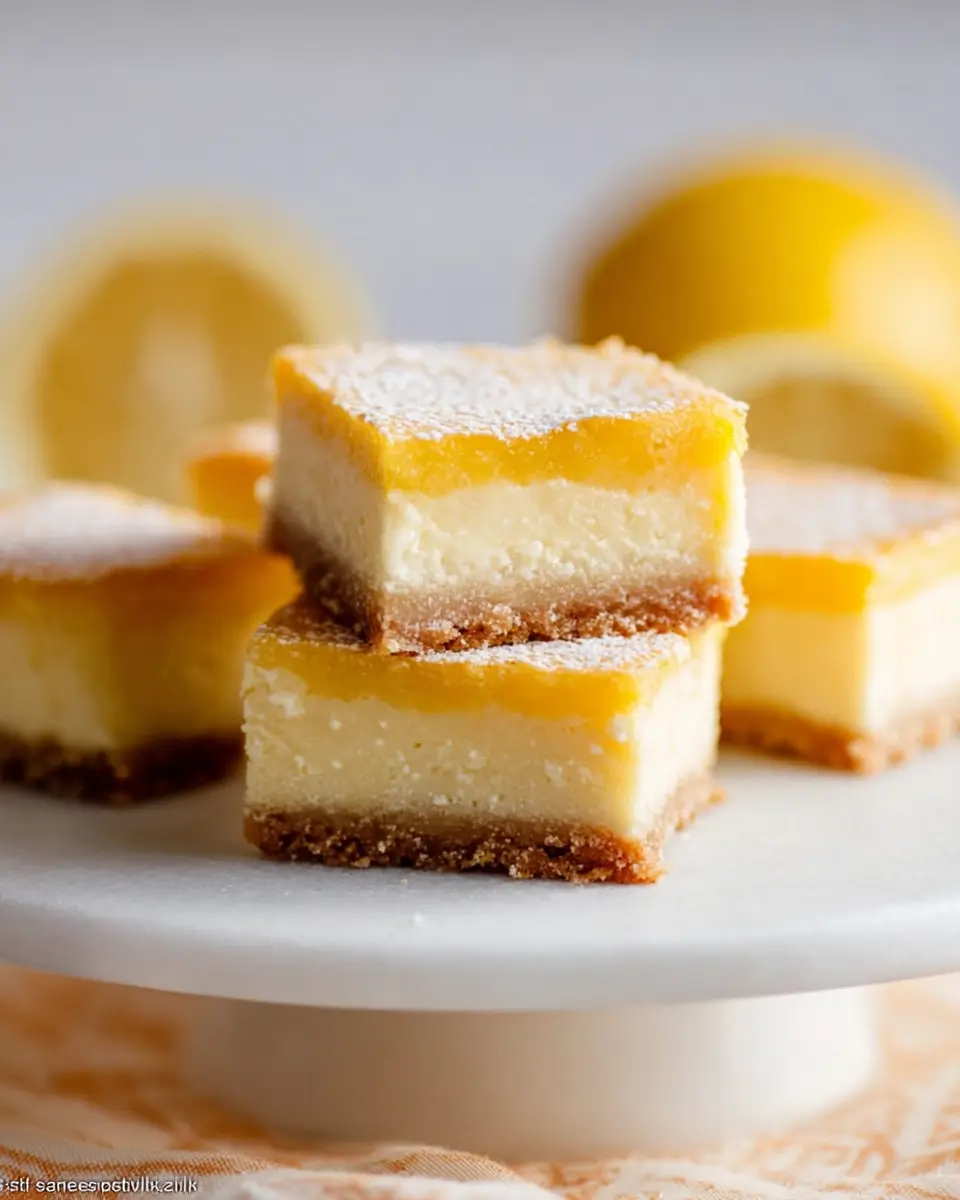
Once chilled, a light dusting of icing sugar adds a lovely finish. Grab a sharp knife and slice them into squares. Enjoy your delicious homemade lemon goodness!
Feel free to share your thoughts or favorite variations in the comments; after all, making it personal is what baking is all about! For more dessert inspiration, check out The Pioneer Woman. Happy baking!
Variations on Lemon Cheesecake Bars
Strawberry Lemon Cheesecake Bars
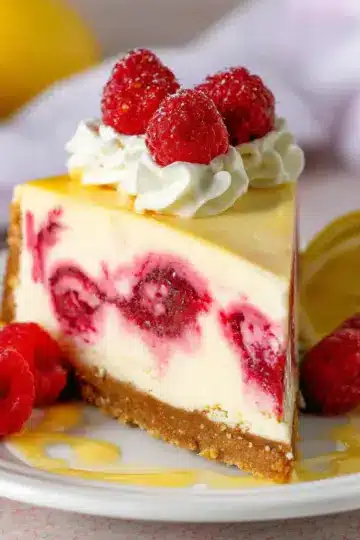
If you're a fan of fruity flavors, try adding a delightful twist with strawberries! Simply layer fresh sliced strawberries on top of your cream cheese layer before pouring in the lemon mixture. This not only adds a pop of color but also infuses your Lemon Cheesecake Bars with a delicious berry flavor. Want to take it further? A light strawberry glaze on top can elevate your dessert!
Gluten-Free Lemon Cheesecake Bars
For a gluten-free option, substitute the all-purpose flour in both the crust and the lemon layer with a gluten-free flour blend. You can also swap out cornstarch with almond flour for a nutty flavor that complements the lemon beautifully. It’s an easy way to ensure everyone can indulge in these zesty treats without compromising on taste. Your friends and family won’t even know they’re gluten-free!
Baking Notes for Lemon Cheesecake Bars
Importance of Room Temperature Ingredients
Using room temperature ingredients is crucial for your Lemon Cheesecake Bars. Cream cheese blends more smoothly, resulting in a creamy texture without lumps. Eggs at room temperature incorporate seamlessly, adding to the overall fluffiness of the cheesecake layer. Take them out of the fridge about 30 minutes before you start baking to ensure the best results.
Cooling and Refrigerating Tips
After baking, allow those delicious bars to cool at room temperature before refrigerating. This helps set the filling perfectly. For ideal flavor and texture, let them chill for at least 3 hours—though overnight is even better! Store in an airtight container in the fridge for 2-3 days, or freeze for up to 3 months for a delightful make-ahead treat.
For more tips on cheesecake techniques, check out resources like The Kitchn.
Serving Suggestions for Lemon Cheesecake Bars
Garnishing Ideas
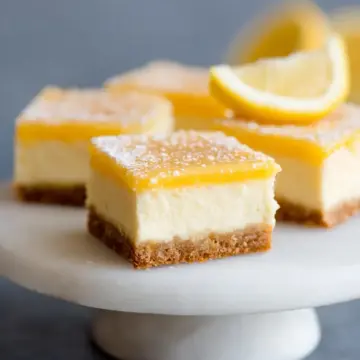
To elevate your Lemon Cheesecake Bars, consider garnishing them with fresh berries like raspberries or blueberries. A sprinkle of mint leaves adds a pop of color and freshness. For an extra zesty kick, a light dusting of grated lemon zest on top can enhance that tangy flavor. You can also serve them with a dollop of whipped cream for a creamy, decadent touch.
Pairing with Beverages
These Lemon Cheesecake Bars are wonderfully complemented by a refreshing iced tea or lemonade. Both drinks harmonize beautifully with the tangy lemon flavor, making them perfect for summer gatherings. If you're looking for something cozy, a cup of green tea can create a nice contrast to the richness of the cheesecake, rounding out your dessert experience beautifully.
For more ideas on perfect drink pairings, check out the Tea Association.
Tips for Making Perfect Lemon Cheesecake Bars
Avoiding Common Mistakes
To ensure your Lemon Cheesecake Bars turn out perfectly, watch out for some frequent missteps. One common mistake is over-mixing your cream cheese layer. Beat it just until smooth to avoid incorporating too much air, which can lead to cracks. Additionally, always use room-temperature ingredients for a velvety texture. Don’t rush the cooling process; allowing them to cool at room temperature before refrigerating is crucial for solidifying the filling properly.
Ensuring Proper Setting
To make sure your Lemon Cheesecake Bars are set just right, bake until the center has a slight jiggle—this is a sign that it'll firm up as it cools. Allowing adequate time in the fridge (at least 3 hours, or overnight if possible) is essential for the lemon layer to reach its best texture. For added flavor, consider using freshly squeezed lemon juice. Proper preparation and patience will reward you with delicious, tangy treats!
Time details for Lemon Cheesecake Bars
Preparation time
Get started with a quick 10 minutes of preparation. This is your time to gather ingredients and whip up that luscious crust and filling!
Baking time
Baking takes a bit longer—about 50 minutes total. You'll want to ensure each layer is perfectly set for that delightful blend of creamy and tangy flavors.
Total time
All in all, you’re looking at a 1-hour commitment, plus a little extra time to chill before serving. Patience is a virtue here; it'll be worth it! If you're curious about the nutritional benefits and storage options, check out our nutrition overview.
Nutritional Information for Lemon Cheesecake Bars
Calories
Each serving of these delightful Lemon Cheesecake Bars packs approximately 188 calories. This makes them a sweet yet sensible treat when you're craving something indulgent without the guilt.
Protein
You can enjoy a modest protein boost with 3 grams of protein per bar. While these bars are primarily a dessert, they provide a little nutritional balance to your sweet indulgence.
Sodium
With 75 mg of sodium in each serving, these bars strike a good balance—perfect for those watching their salt intake while still enjoying a flavorful dessert.
For more optimized snacking tips, check out this article on popular healthy dessert options. Are you ready to treat yourself to some zesty lemon goodness? Your taste buds will thank you!
FAQs about Lemon Cheesecake Bars
How do I know when the lemon bars are done?
The key to perfect Lemon Cheesecake Bars is ensuring the filling is set without overbaking. Look for a slight jiggle in the center; it should be firm around the edges but still a bit soft in the middle. Once you take them out of the oven, let them cool completely at room temperature before refrigerating.
Can I freeze Lemon Cheesecake Bars?
Absolutely! These bars freeze beautifully. Just make sure to store them in an airtight container or wrap them tightly in plastic wrap. They can last up to three months in the freezer. When you're ready to enjoy them, let them thaw in the refrigerator overnight.
What can I substitute for cream cheese?
If you're looking for alternatives, you can use mascarpone cheese for a richer flavor or a dairy-free cream cheese spread if you're avoiding dairy. Silken tofu is another great option, yielding a lighter texture while still being creamy.
For more baking tips, check out this baking primer from King Arthur Baking.
Conclusion on Lemon Cheesecake Bars
In summary, Lemon Cheesecake Bars are a delightful treat that perfectly balances sweetness and tanginess. Easy to prepare and freezer-friendly, they’re ideal for making ahead. Whether you serve them at gatherings or enjoy them as a personal treat, these bars will surely impress. Enjoy every bite!
Lemon Cheesecake Bars
Equipment
- Stand Mixer
- 9- × 9-inch baking pan
- pastry blender
Ingredients
Shortbread Crust
- 1 cup all-purpose flour
- ¼ cup cornstarch
- ¼ cup white sugar
- ½ cup salted butter
- 2 tablespoon grated lemon zest
Cream Cheese Layer
- 1 package cream cheese 8 oz / 226 g, cubed
- ½ cup white sugar
Lemon Layer
- 4 extra-large eggs room temperature
- 1⅔ cups white sugar
- ⅔ cup all-purpose flour
- ⅔ cup lemon juice from 2 to 3 large lemons
Instructions
Preparation
- Preheat the oven to 350°F. Grease a 9- × 9-inch baking pan.
- Cut out a 9- × 9-inch square of parchment paper and lay on top of the greased bottom of the pan.
- For the crust, use a pastry blender to combine the flour, cornstarch, sugar, butter, and lemon zest until the mixture is coarse crumbs. Press the dough into the greased baking pan, on top of the parchment paper. Bake for 15 minutes, until lightly browned. Remove and place the pan on a wire rack to cool slightly.
- For the cream cheese layer, beat the cream cheese and sugar together in a stand mixer until light and creamy, 3 to 4 minutes. Beat in the egg completely, then pour the mixture onto the warm crust. Return to the oven and bake for 10 to 15 minutes, until slightly set on top.
- For the lemon layer, whisk together all the ingredients by hand. Gently pour over the cream cheese layer, trying not to disturb it. Spread out the lemon in an even layer.
- Return to the hot oven and bake for another 25 to 30 minutes, until the filling is just set in the center.
- Cool at room temperature, then refrigerate uncovered to let the filling set completely for at least 3 hours.
- Sprinkle with icing sugar if desired. Slice into squares to serve.
- These can be stored in an airtight container for 2 to 3 days in the refrigerator, or frozen in a freezer-safe container for up to 3 months.
Leave a Reply