
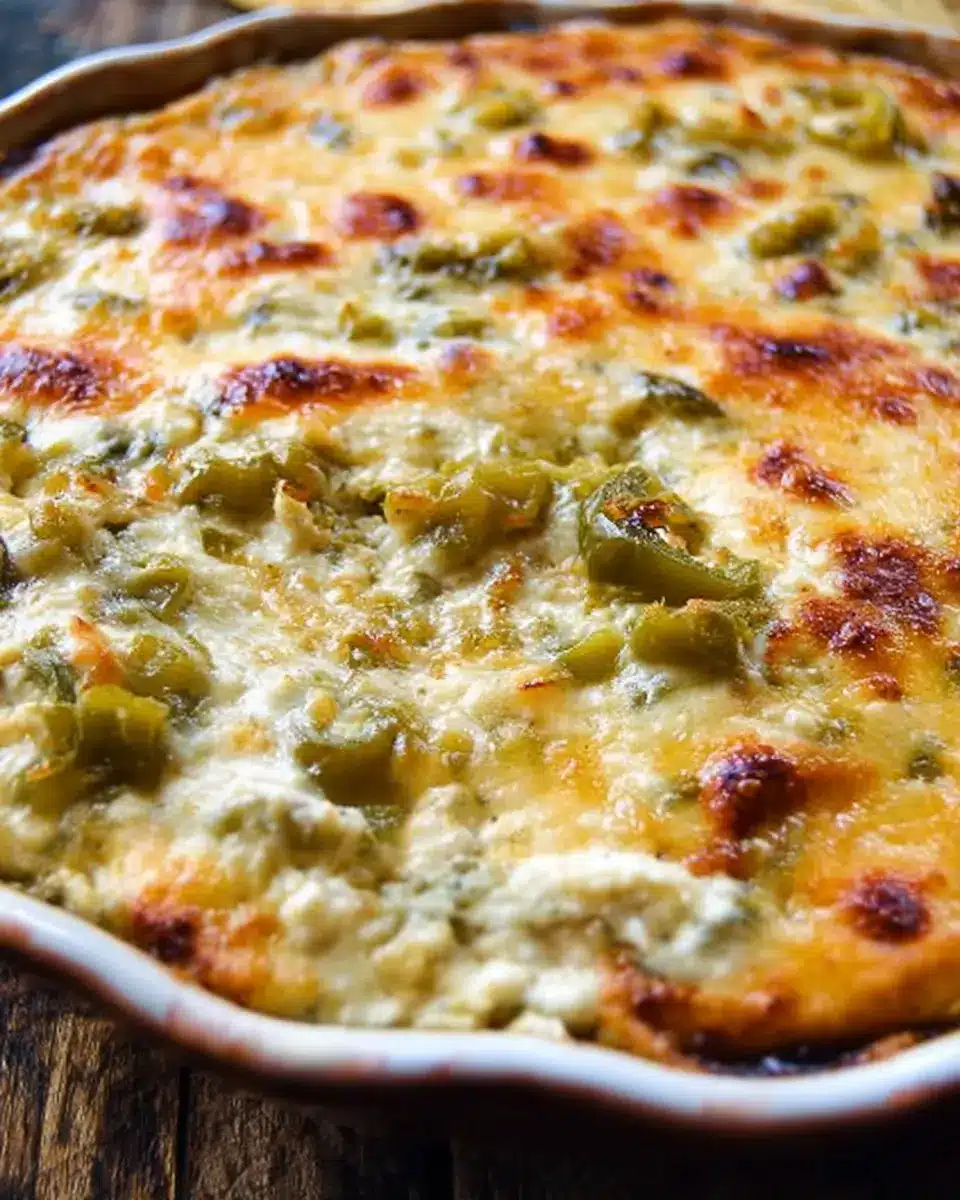
Introduction to Cheesy Hatch Green Chile Dip
When it comes to party appetizers, Cheesy Hatch Green Chile Dip stands out as a crowd favorite. Imagine a warm, gooey blend of creamy cheeses and the subtle heat from roasted Hatch chiles, tantalizing your taste buds with every scoop. This dip not only packs a flavor punch but is also incredibly easy to make, ensuring that you spend more time mingling and less time slaving away in the kitchen.
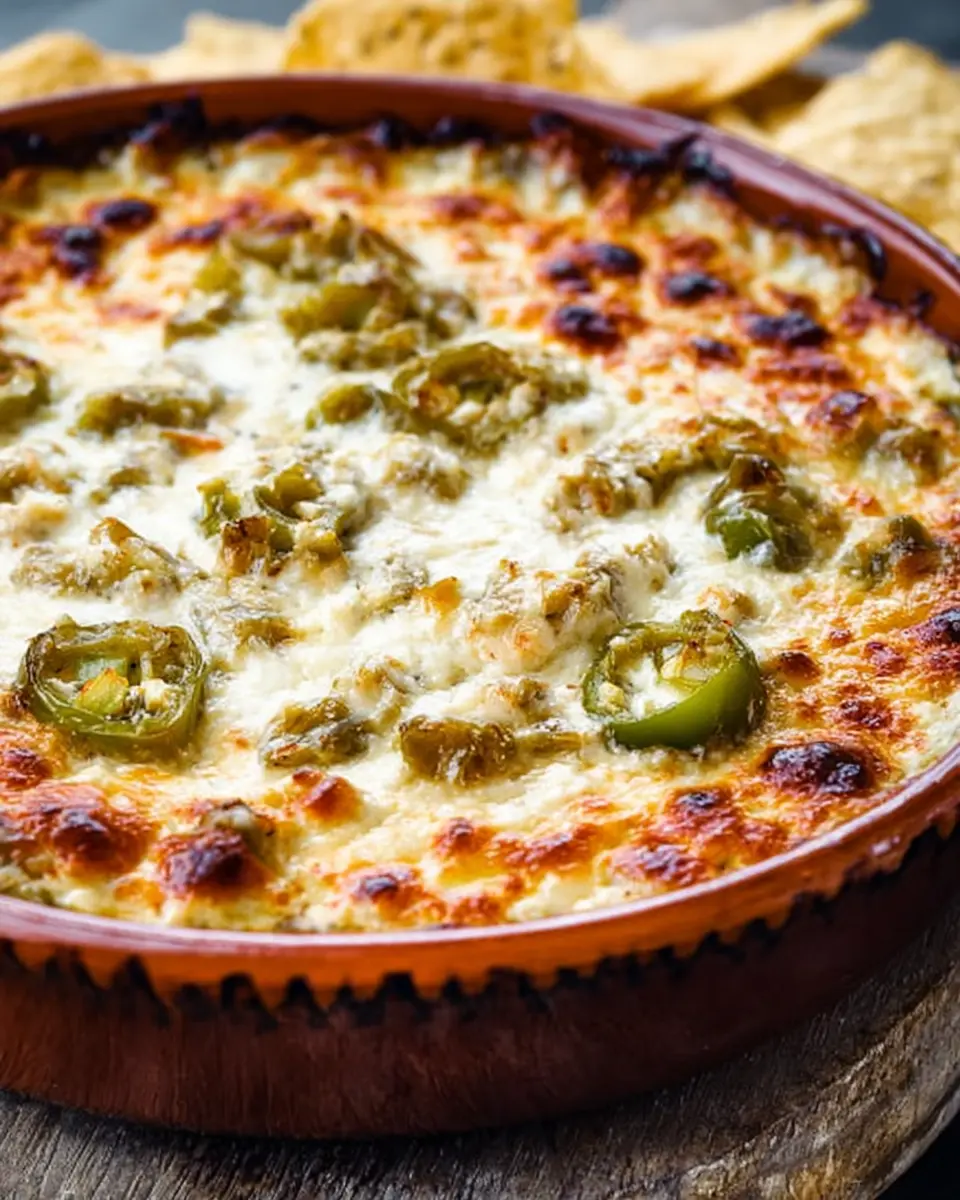
Why is this dip a must-try? First, the combination of mild and hot Hatch chiles offers a unique flavor profile that sets it apart from traditional cheese dips. Plus, it's versatile! Whether you're hosting a game day, a casual gathering, or just a quiet night in, serving this dip with tortilla chips or bread transforms any occasion into a festive event.
For more information on the origin and cultivation of Hatch chiles, you might want to check out New Mexico’s chile facts. Trust us, once you experience the magic of this cheesy delight, you’ll be looking for excuses to whip it up again and again! Get ready to impress your friends and family with a dish that’s as comforting as it is scrumptious.
Ingredients for Cheesy Hatch Green Chile Dip
Creating the ultimate Cheesy Hatch Green Chile Dip starts with gathering the right ingredients. Whether you're hosting a game night, a casual get-together, or just looking for a cozy snack, these essentials will ensure your dip is creamy, zesty, and full of flavor.
Essential ingredients for the perfect dip
- 1 cup chopped mild roasted Hatch chilies: These add that signature smoky flavor.
- ½ cup chopped roasted hot Hatch chiles: A little heat gives your dip a delightful kick.
- 1 cup mayonnaise: For creaminess that binds everything together.
- 1 cup sour cream: Adds a tangy element to balance the richness.
- 2 cups shredded Monterey Jack Cheese: This is the melty heart of the dip.
- 1 cup shredded mozzarella cheese: For that stretchy, gooey goodness.
- ½ cup Parmesan cheese: Adds a nutty depth to your dip.
- 2 teaspoon Worcestershire sauce: Enhances the overall umami flavor.
- ¾ teaspoon salt and fresh cracked black pepper: Essential for seasoning your mix.
Optional ingredients for personalization
Feel free to personalize your Cheesy Hatch Green Chile Dip with these fun options:
- Chopped green onions: For a fresh, oniony crunch.
- Extra cheese varieties: Try pepper jack for spiciness or gouda for a smoky twist.
- Cream cheese: Swap out some mayonnaise for cream cheese to boost richness.
- Diced bell peppers: Add color and additional flavor variations.
With these ingredients on hand, you're well on your way to making a dip that your friends and family will rave about! Don't forget to gather some crunchy tortilla chips for serving – they’re the perfect companion to this creamy delight. For more ideas on how to elevate your appetizer spread, check out this article.
Preparing Cheesy Hatch Green Chile Dip
Creating a Cheesy Hatch Green Chile Dip is a delightful experience that blends the creamy goodness of cheese with the smoky, spicy flavor of Hatch chiles. Perfect for game day, parties, or simply a cozy night in, this dip is sure to impress! Let’s walk through the process together.
Preheat and gather your ingredients
To start off, set your oven to 350°F (175°C) so it’s ready when you are. While waiting, gather all your ingredients to ensure a smooth cooking process. Here’s what you’ll need:
- 1 cup chopped mild roasted Hatch chilies
- ½ cup chopped roasted hot Hatch chiles
- 1 cup mayonnaise
- 1 cup sour cream
- 2 cups shredded Monterey Jack Cheese
- 1 cup shredded mozzarella cheese
- ½ cup Parmesan cheese
- 2 teaspoons Worcestershire sauce
- ¾ teaspoon salt
- ¾ teaspoon fresh cracked black pepper
- Tortilla chips for serving
Once you have everything in one place, you’re ready to dive in!
Mix all the ingredients in a bowl
In a large mixing bowl, combine all your ingredients except for the tortilla chips. This includes both mild and hot chiles, all the cheeses, mayonnaise, sour cream, Worcestershire sauce, salt, and pepper. It’s essential to mix everything thoroughly—using a spatula or a large spoon works best. You want a nice, even consistency that ensures every bite of your Cheesy Hatch Green Chile Dip is bursting with flavor!
Transfer to a casserole dish
Now that you have a rich, cheesy mixture, it’s time to spread it into a casserole dish. Aim for an even layer so it bakes uniformly. If you’re feeling a little fancy, sprinkle a few extra chilies on top for visual appeal and an added kick!
Bake until bubbly and golden
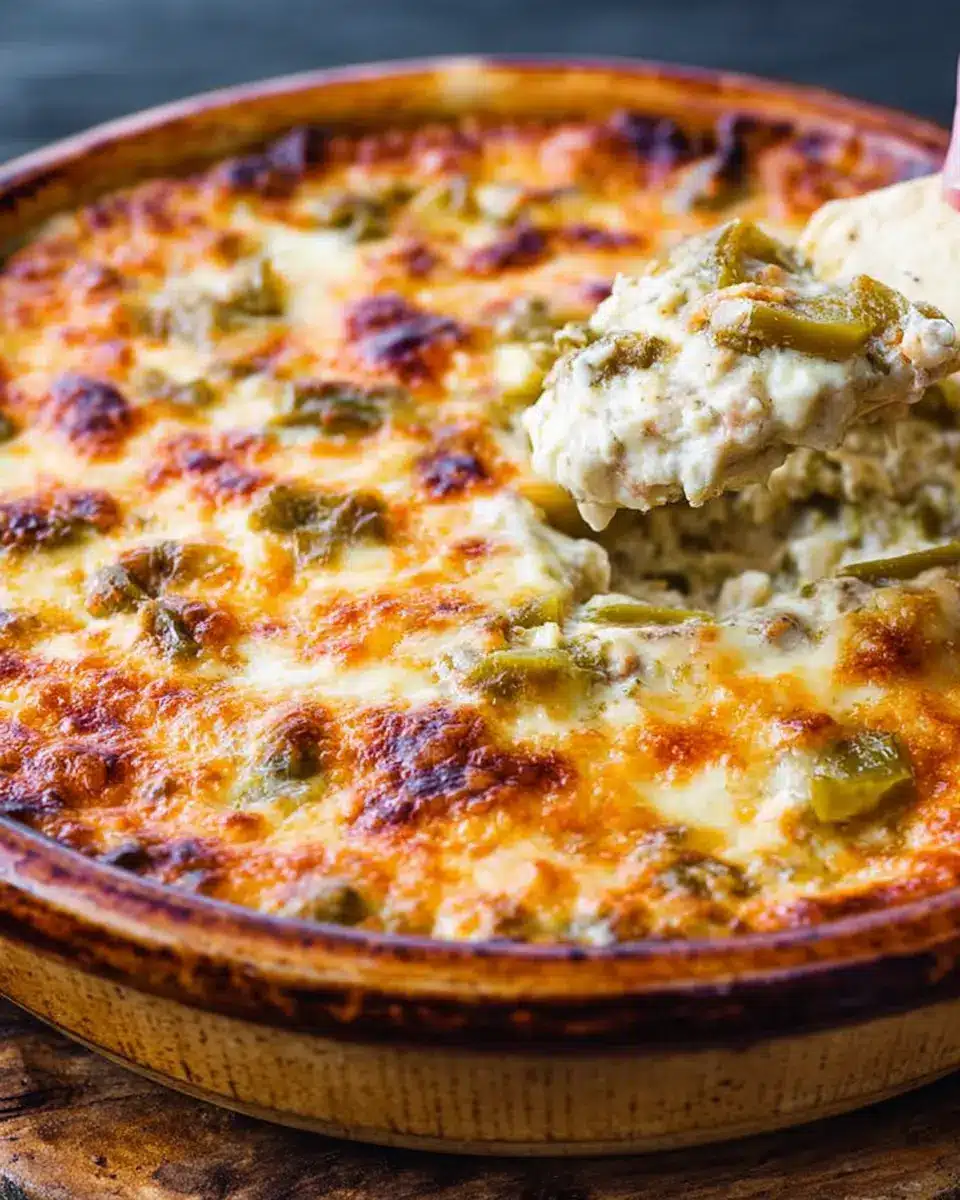
Place your casserole dish in the preheated oven. Let it bake for about 25 to 30 minutes. You’re looking for a dip that’s bubbly all around and golden brown on the top. If you don’t see those delightful signs of doneness, don’t hesitate to leave it in a bit longer—keep an eye on it to avoid any unexpected surprises.
Broil for that perfect finish (optional)
For an extra layer of flavor and that perfect, crispy finish on top, consider broiling the dip for a few minutes after baking. Just switch your oven setting to broil, and watch closely to make sure it doesn’t burn. That slightly charred layer really elevates the overall experience!
There you have it! Serve this Cheesy Hatch Green Chile Dip warm with tortilla chips, and watch it disappear in no time. Enjoy every cheesy, zesty bite!
Variations on Cheesy Hatch Green Chile Dip
When it comes to Cheesy Hatch Green Chile Dip, there's always room to elevate your cheesy creation! Here are two fun variations to explore.
Spicy Twist with Additional Peppers
If you crave a fiery kick, consider adding some diced jalapeños or serrano peppers to your dip. This spicy twist not only heightens the heat, but also adds layers of flavor that complement the Hatch chiles. Remember, balancing heat can be key, so start small and adjust according to your taste!
Creamy Version with Added Cream Cheese
For a particularly velvety dip, mix in an 8-ounce package of softened cream cheese. This creamy version will give your Cheesy Hatch Green Chile Dip a luxurious texture that pairs beautifully with crunchy tortilla chips. The cream cheese acts as a delightful base that rounds out the zest of the chiles perfectly!
Feel free to experiment and find your ideal blend!
Cooking tips and notes for Cheesy Hatch Green Chile Dip
Ingredient substitutions and adjustments
When making your Cheesy Hatch Green Chile Dip, feel free to swap ingredients based on your taste preferences. If you're looking for a lighter option, Greek yogurt can replace sour cream. For a different flavor profile, try using pepper jack cheese for added heat. You can also go with roasted red bell peppers if Hatch chiles aren’t available.
Best practices for the perfect texture
To achieve that creamy, dreamy consistency, avoid overmixing the ingredients. Gently fold them together until just combined. For a smoother dip, consider using a food processor to blend your Cheesy Hatch Green Chile Dip ingredients. Lastly, baking at a lower temperature for a bit longer can help meld the flavors beautifully without drying out the cheese. Enjoy with your favorite tortilla chips!
Serving suggestions for Cheesy Hatch Green Chile Dip
Ideal dippers beyond tortilla chips
While tortilla chips are a classic choice, don’t hesitate to think outside the chip bag! Here are some delightful alternatives to accompany your warm and gooey Cheesy Hatch Green Chile Dip:
- Veggies: Crisp bell peppers, cucumber slices, or crunchy carrot sticks add a fresh crunch.
- Pretzels: Their saltiness and texture create a fun contrast with the rich flavors of the dip.
- Bread: Opt for toasted baguette slices or soft pita bread for a satisfying scoop.
Pairing ideas for a complete appetizer spread
To transform your Cheesy Hatch Green Chile Dip into a crowd-pleaser, consider complementing it with:
- Turkey Bacon or Chicken Ham bites: They introduce a savory element that balances the creaminess.
- Guacamole or salsa: These fresh toppings elevate the flavor profile.
- Cheese platter: Including a variety of cheeses—like sharp cheddar or creamy brie—can create a cheese lover's paradise!
Mixing and matching these elements can make your spread inviting and delicious, perfect for gatherings or a cozy night in. For more creative ideas, check out this fabulous appetizer guide, where you can find pairings that will elevate any dip!
Time Breakdown for Making Cheesy Hatch Green Chile Dip
When you're ready to whip up a batch of Cheesy Hatch Green Chile Dip, knowing how to manage your time can make all the difference. Here’s a quick breakdown to keep you on track:
Preparation Time
In just 10 minutes, you can gather your ingredients and mix everything together. It’s a quick process that won’t take much of your precious time.
Cooking Time
The dip will need about 25 minutes in the oven to achieve that perfect bubbly and golden finish, ensuring all the flavors meld beautifully.
Total Time
In less than 35 minutes, you’ll have a delicious, cheesy dip ready to serve! Perfect for snacking or entertaining guests. For more tips on hosting, check out this party planning guide.
Whether it’s game day or a cozy get-together, this dip is sure to be a hit! For more delicious appetizers, you might enjoy exploring recipes like buffalo chicken dip or spinach and artichoke dip. Don't forget to let me know how yours turns out!
Nutritional Facts for Cheesy Hatch Green Chile Dip
Understanding the nutritional profile of your food can enhance your culinary experience! Here’s a quick overview of the Cheesy Hatch Green Chile Dip:
Calories
With approximately 285 calories per serving, this dip offers a decadent treat that’s perfect for gatherings or cozy nights in.
Protein
Packed with about 9 grams of protein, this dip can be a satisfying addition to your appetizer spread, helping you feel full and energized.
Sodium
Do keep in mind that this dip contains around 578 mg of sodium per serving. It's delicious, but moderation is key if you're watching your salt intake!
For more insights on healthy eating habits, be sure to check out sources like Healthline for practical tips and guides!
FAQ about Cheesy Hatch Green Chile Dip
Can I make this dish ahead of time?
Absolutely! You can prepare your Cheesy Hatch Green Chile Dip a day in advance. Simply mix all the ingredients, spread them in your casserole dish, and cover it tightly with plastic wrap. When you're ready to serve, just pop it into the oven. A little extra baking time may be needed to heat it through, but it’s well worth it!
How should leftovers be stored?
If you have any leftovers (though that’s a big if!), store them in an airtight container in the refrigerator for up to three days. To reheat, simply warm it up in the oven or microwave until hot and bubbly. Just be careful not to overcook it, as cheese can dry out quickly!
What can I substitute for Hatch chiles?
If you can’t find Hatch chiles, don’t worry! You can use roasted green chiles or even diced jalapeños for a kick. Alternatively, canned green chiles can work in a pinch. Just be sure to check the heat levels to match your taste!
Conclusion on Cheesy Hatch Green Chile Dip
If you’re searching for a crowd-pleasing appetizer, look no further than this Cheesy Hatch Green Chile Dip. It’s creamy, flavorful, and perfect for any occasion. Whether it’s game day or a casual gathering, serve it hot with tortilla chips, and watch it disappear! Enjoy every delicious bite!
Cheesy Hatch Green Chile Dip
Equipment
- oven
- mixing bowl
- casserole dish
Ingredients
- 1 cup chopped mild roasted Hatch chilies
- ½ cup chopped roasted hot Hatch chiles
- 1 cup mayonnaise
- 1 cup sour cream
- 2 cups shredded Monterey Jack Cheese
- 1 cup shredded mozzarella cheese
- ½ cup Parmesan cheese
- 2 teaspoon Worcestershire sauce
- ¾ teaspoon salt
- ¾ teaspoon fresh cracked black pepper
- Tortilla chips for serving
Instructions
- Set oven to 350F.
- Put all the ingredients - except the tortilla chips - into a large mixing bowl. Mix well. Make sure all the elements are well combined.
- Spread the mixture into a casserole dish. Spread out so it is an even depth. If you like you can sprinkle a few more of the chopped chilies across the surface.
- Bake for about 25-30 minutes, or until bubbling all around and starting to brown on the surface. If it's not bubbling and starting to brown, cook it a little longer. Finish off for a few minutes on the top rack under the broiler to get more browning, if you like.
- Serve right away with tortilla chips or bread for dipping.

Leave a Reply