
Introduction to Chocolate Tart
Creating a chocolate tart is not just a culinary project; it’s an experience that brings joy and satisfaction. If you've ever wanted to wow your guests at a dinner party or indulge in a delightful dessert after a long week, this recipe is your answer. With a few simple ingredients, you can craft a visually stunning and delicious treat that tastes as good as it looks.
Why Make a Chocolate Tart?
Imagine a rich, velvety chocolate filling cradled in a perfectly baked crust—sounds tempting, right? This chocolate tart is the perfect balance of elegance and comfort. It’s surprisingly easy to make, and the result is a dessert that feels indulgent without requiring a professional chef's skill set. Plus, it can be made ahead of time, leaving you free to enjoy the moment with your friends and family.
Not only does chocolate possess mood-boosting properties, but studies have also shown that dark chocolate is high in antioxidants and may provide health benefits when enjoyed in moderation source. So, whip up this chocolate tart and give yourself a moment to savor the rewards of your hard work. For detailed instructions, check out the full recipe below!
Ingredients for Chocolate Tart
Making a chocolate tart is an exquisite experience, and preparing the right ingredients can elevate your dessert to gourmet status. Here’s a detailed look at what you'll need!
For the Crust
To create a buttery and delightful crust, gather these simple ingredients:
- 1 stick (½ cup) unsalted butter, softened
- ¼ cup + 2 tablespoons sugar
- ¼ teaspoon salt
- 1¼ cups all-purpose flour, carefully measured
- 1 large egg yolk
This crust serves as the perfect base for your velvety chocolate filling!
For the Chocolate Filling
The filling is the star of your chocolate tart—it should be rich and indulgent. Pick up the following:
- 8 ounces high-quality semisweet chocolate, such as Ghirardelli or Guittard
- 1¼ cups heavy cream
- 2 tablespoons sugar
- ¼ teaspoon salt
- 2 large eggs, at room temperature
- 1 teaspoon vanilla extract
Using top-notch chocolate makes all the difference!
For the Chocolate Glaze
To finish your masterpiece, you’ll want a glossy glaze:
- 3 tablespoons heavy cream
- 1 tablespoon light corn syrup
- 2 ounces semisweet chocolate, again aim for the best quality
- 1 tablespoon hot water
This glaze will give your chocolate tart that irresistible shine. For tips on choosing the perfect chocolate, check out this guide for more insights. Happy baking!
Preparing Chocolate Tart
Creating an exquisite chocolate tart might sound intimidating, but I promise you, with a little patience and the right steps, it becomes a delightful journey. Let’s break down the process so you can impress your friends and family with a professional-looking dessert.
Making the crust
The journey begins with the crust—an essential foundation for your chocolate tart. Start by creaming together unsalted butter, sugar, and a touch of salt in your stand mixer for about two minutes. This creates a light and airy base. Gradually add in all-purpose flour until the mixture resembles wet sand. Don’t panic if it feels crumbly! When you add the egg yolk, it’ll come together nicely. Shape it into a disk, wrap it in plastic wrap, and let it chill in the fridge for about 30 minutes. This step is crucial for a buttery, flaky crust.
Prebaking the crust
Preheat your oven to 350°F as you prepare the next steps. Lightly spray your tart pan with nonstick spray to avoid any sticky situations later on. Press the chilled dough into the pan, making sure it’s even. Don’t worry if it looks a bit messy at this stage—your fingers are the best tools here! Once spread evenly, place your crust in the freezer for another 30 minutes to set. Baking it for about 20 minutes gives you that perfectly dry, golden base to hold your rich filling.
Preparing the chocolate filling
Once your crust cools, it’s time to whip up the chocolate filling. Start by finely chopping your semisweet chocolate and placing it in a bowl. Heat heavy cream in a saucepan until it just boils, then pour it over the chocolate. After a few minutes, whisk until it’s smooth and silky. The real magic happens when you whisk in sugar, salt, and eggs. Make sure everything is blended flawlessly so each slice of your chocolate tart is luscious.
Baking the chocolate tart
Pour that glorious filling into your pastry shell and pop it into the oven. Bake for 20 to 25 minutes until the filling is mostly set—just a slight wobble in the middle is perfect. Let it cool on a wire rack for about an hour. This cooling time is essential; you want your tart to set just right before glazing.
Making and setting the chocolate glaze
Now for the finishing touch! Heat cream and corn syrup until boiling, then mix in your finely chopped chocolate until it’s melted and velvety. Pour the glaze over the cooled tart, giving it a gentle nudge so the glaze cascades wonderfully to the edges. Let it sit at room temperature for about an hour to set completely. The anticipation will be worth it when you slice into this masterpiece!
With each of these steps, you’ll not only craft an incredible dessert but also learn flavors and techniques that will elevate your baking skills. Enjoy your delicious chocolate tart and bask in the compliments! If you’re looking to expand your baking repertoire, consider checking out further baking resources here and here.
Variations on Chocolate Tart
Add a Fruit Topping
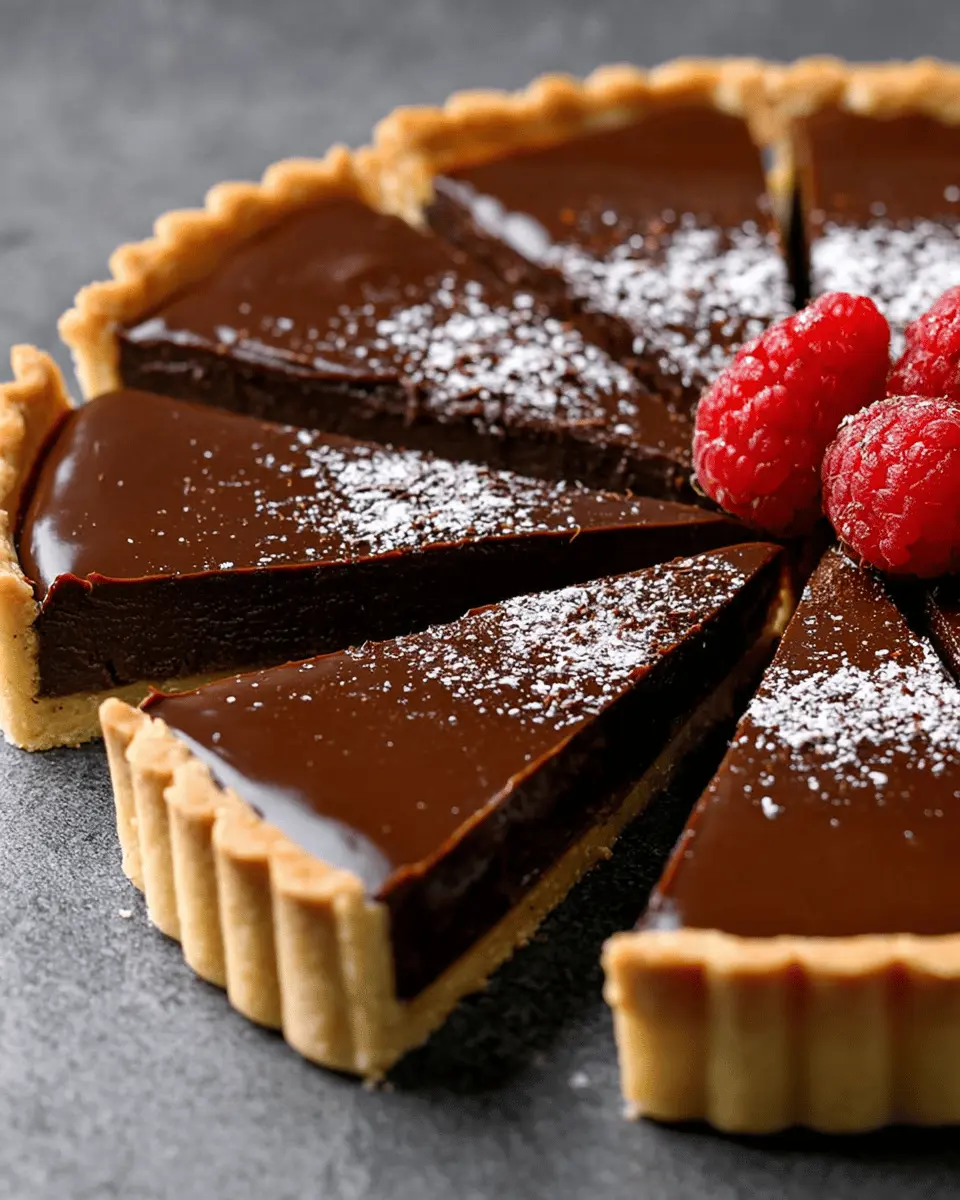
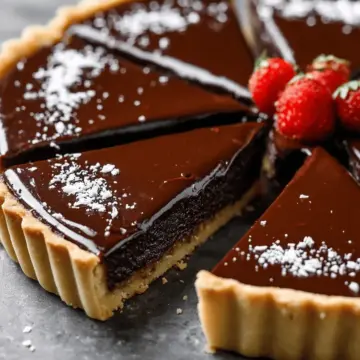
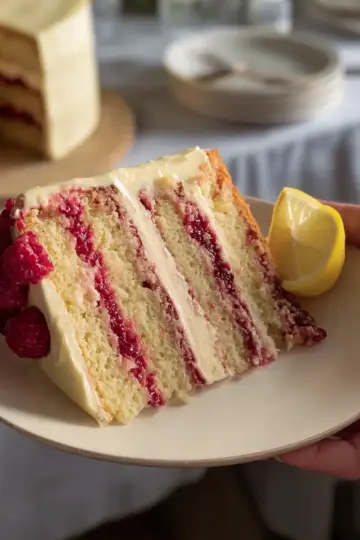
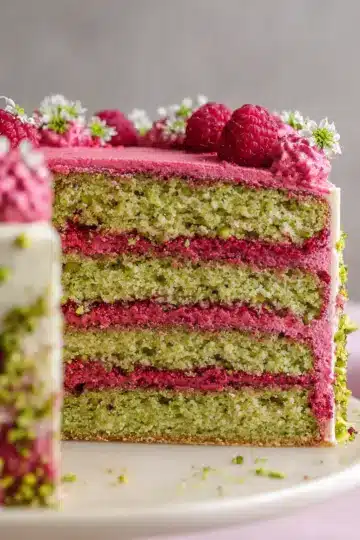
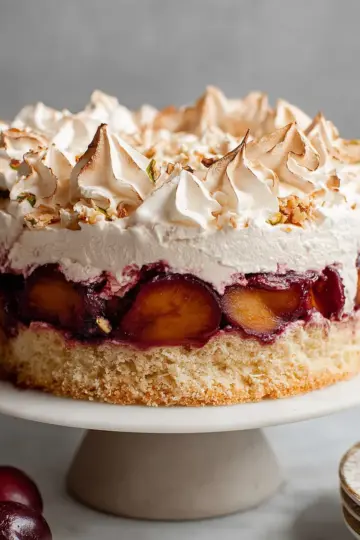
Elevate your chocolate tart by adding a luscious fruit topping. Seasonal berries like raspberries, strawberries, or blueberries not only add a vibrant splash of color but also a refreshing tartness to balance the richness of the chocolate. Simply toss your chosen fruit in a bit of sugar and let it macerate for an hour before placing it atop the set glaze. This easy addition transforms your dessert into a show-stopping centerpiece! For more fruit ideas, check out this guide to seasonal fruits.
Switch Up the Chocolate Type
Feeling adventurous? Experiment with different types of chocolate! Dark chocolate imparts a deeper flavor, while milk chocolate lends a creamier texture. For those who crave something unique, white chocolate can create a delicate, sweet contrast. Each variation offers a new twist on your chocolate tart, allowing you to customize the dessert to your taste. Remember, quality chocolate makes a big difference, so opt for the best you can find! If you’d like to explore more chocolate varieties, have a look at this chocolate guide.
Baking notes for Chocolate Tart
Creating a delectable chocolate tart doesn't have to be daunting! Here are some friendly tips to ensure your tart is a showstopper.
Choose Quality Ingredients
Opt for high-quality semisweet chocolate, like Ghirardelli or Guittard, as the chocolate flavor shines best with quality ingredients. Don’t skimp on the heavy cream either; it makes for a luscious filling.
Perfect the Crust
Ensure your tart crust is evenly pressed into the pan without any thick edges. If you're unsure about the dough, refer to this guide for some helpful tips.
Let it Chill
After baking, allow your tart to cool completely before glazing. Chill it in the refrigerator for that perfect set!
Happy baking! Your guests will be wowed by this exquisite dessert.
Serving Suggestions for Chocolate Tart
Elevate your chocolate tart experience with these delightful serving suggestions:
Add a Fresh Touch with Berries
Serve your tart with a side of fresh berries like raspberries, strawberries, or blueberries. Their natural acidity complements the rich, creamy chocolate beautifully, creating a harmonious balance.
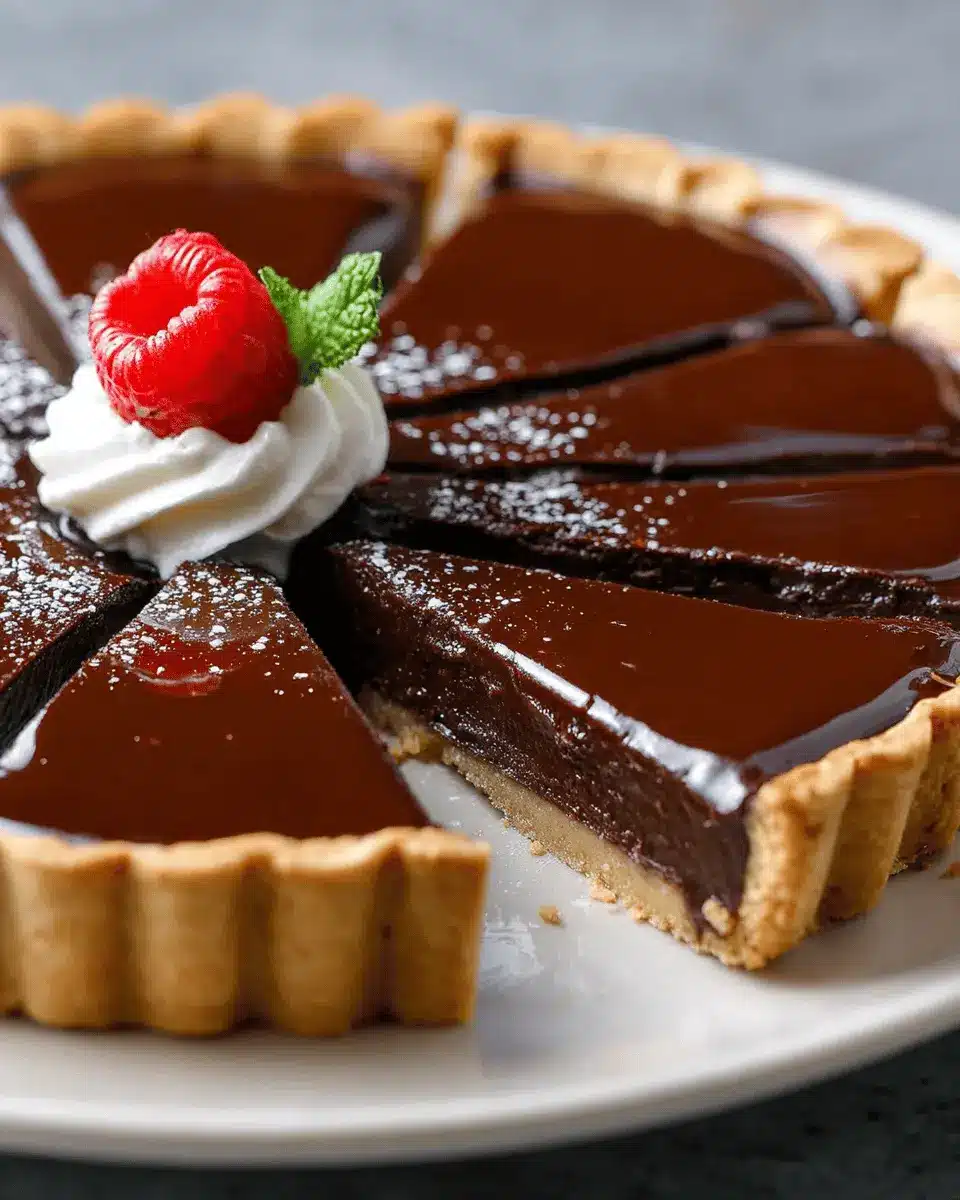
Whip Up Some Cream
A dollop of sweetened whipped cream or crème fraîche can take your tart to the next level. Not only does it add creaminess, but it also provides a light texture that contrasts wonderfully with the dense filling.
Create a Chocolate Sauce Drizzle
For chocolate lovers, a warm chocolate sauce drizzle over individual slices can be a sweet finishing touch. It's an easy way to enhance the visual appeal and flavor profile!
Pour Over Some Coffee
Pair your chocolate tart with a rich cup of coffee or tea. The bitterness of the drink plays nicely against the tart’s sweetness, making each bite even more satisfying.
By experimenting with these serving suggestions, you can craft a memorable dessert that will impress your guests and leave them craving more. Interested in exploring more dessert ideas? Check out What’s Cooking America for inspiration!
Tips for Making the Perfect Chocolate Tart
Creating the perfect chocolate tart can feel daunting, but with a few key tips, you’ll impress everyone at your next gathering:
-
Quality Ingredients Matter: Invest in good-quality chocolate like Ghirardelli or Guittard for a decadent filling. It makes a noticeable difference!
-
Chill the Dough: Don’t rush the chilling process for the crust. It prevents shrinkage during baking, ensuring a nicely shaped tart.
-
Don’t Overbake: Keep an eye on the filling. It should be slightly wobbly in the center to achieve that silky texture.
-
Room Temperature Before Serving: Allow the tart to sit at room temperature before enjoying. This enhances the flavors and texture beautifully.
Feel free to check out this guide on choosing chocolate for more tips!
Time Details for Chocolate Tart
Preparation Time
Getting your ingredients ready for the chocolate tart will take about 45 minutes. This includes mixing the crust and allowing it to chill in the refrigerator.
Baking Time
The baking process itself is fairly quick. You’ll need 45 minutes to bake both the crust and the filling, with a cooldown period as well.
Total Time
In total, expect to spend around 1 hour and 30 minutes on this delightful dessert. Keep in mind that you’ll also need a bit of extra time for chilling the dough and setting the glaze, so plan for at least 2 hours and 30 minutes from start to finish!
If you’re looking for more time management tips, consider reading articles on meal prep that can enhance your cooking efficiency here.
Baking your own chocolate tart can be a delightful experience, especially when you see the finished product! Let’s get started!
Nutritional Information for Chocolate Tart
When indulging in a decadent chocolate tart, it’s essential to know what you're savoring. Here's a quick look at the nutritional values per serving:
Calories
A serving of this rich chocolate tart contains approximately 350 calories. It's a delightful treat that showcases the beauty of balance — indulge with awareness!
Protein
Each slice packs about 5 grams of protein, mainly from the eggs and dark chocolate. This adds a small yet satisfying boost to your dessert experience.
Sodium
Worried about salt? This chocolate tart has around 100 milligrams of sodium per portion. It's just enough to enhance the flavor without overpowering the sweetness.
For more insight into maintaining a balanced diet while enjoying your favorite treats, consider checking out resources from ChooseMyPlate or The Academy of Nutrition and Dietetics. Enjoy your chocolate tart guilt-free, knowing that even small treats can fit into a healthy lifestyle!
FAQs about Chocolate Tart
Can I make the tart ahead of time?
Absolutely! You can prepare your chocolate tart up to two days in advance. Just follow the recipe until you've baked the tart shell and filled it with the chocolate mixture. Allow it to cool and then chill it in the refrigerator without the glaze. When you're ready to serve, simply bring it to room temperature and add the glaze for that perfect finish!
How do I store leftover chocolate tart?
If you’re lucky enough to have leftovers, store them in an airtight container in the refrigerator for up to four days. Keep in mind that although the flavor will remain delicious, the glaze may lose its glossy sheen over time. For more tips on storing desserts, check out this handy guide.
What can I use instead of semisweet chocolate?
If semisweet chocolate isn’t available, you can use bittersweet chocolate for a richer flavor, or even dark chocolate if you prefer a more intense taste. Just be mindful of the sweetness level; you might want to reduce the sugar slightly depending on your choice. For an alternative that’s dairy-free, consider using a high-quality dairy-free chocolate!
Conclusion on Chocolate Tart
In conclusion, this exquisite chocolate tart is the perfect dessert for any occasion. Its rich flavors and elegant presentation are sure to impress your guests. Plus, the straightforward recipe makes it easy to recreate. Give it a try, and savor every delectable slice! For more dessert inspirations, check out The Spruce Eats and elevate your baking game.
Chocolate Tart
Equipment
- Stand Mixer
- Tart pan
- Saucepan
- baking sheet
- microwave
Ingredients
For the Crust
- 1 stick unsalted butter at room temperature
- ¼ cup sugar
- 2 tablespoons sugar
- ¼ teaspoon salt
- 1¼ cups all-purpose flour spooned into measuring cup and leveled-off
- 1 large egg yolk
For the Chocolate Filling
- 8 ounces semisweet chocolate best quality such as Ghiradelli or Guittard, chopped
- 1¼ cups heavy cream
- 2 tablespoons sugar
- ¼ teaspoon salt
- 2 large eggs at room temperature
- 1 teaspoon vanilla extract
For the Chocolate Glaze
- 3 tablespoons heavy cream
- 1 tablespoon light corn syrup
- 2 ounces semisweet chocolate best quality such as Ghiradelli or Guittard, chopped
- 1 tablespoon hot water
Instructions
For the Crust
- In a stand mixer fitted with a paddle attachment, cream the butter, sugar, and salt on medium speed until pale and creamy, about 2 minutes. Scrape down the sides and bottom of the bowl with a rubber spatula. Add the flour and mix on low speed for about 30 seconds, until the flour is incorporated. The mixture will look like wet, clumpy sand. Add the egg yolk and mix on low speed until the yolk is evenly incorporated and the dough is clumpy, about 30 seconds. Using your hand, lightly knead the dough into a ball inside the bowl. Remove the dough from the bowl, press it into a 6-inch disk, wrap it tightly in plastic wrap, and let it rest in the refrigerator for about 30 minutes.
- Lightly spray a 9.5-inch tart pan with a removable bottom with nonstick cooking spray. Pinch off pieces of dough and press them against the sides of the pan to reach between ⅛ and ¼ inch thick. Using the heel of your hand, press the rest of the dough evenly into the bottom of the pan. (It will look like a mess, and it may initially seem like you won't have enough dough, but have faith, it will come together. If you run out of dough, you’ve made the crust too thick.) Be sure there are no seams in the dough and press it squarely along the corners where the bottom meets the sides of the pan to avoid extra-thick edges. Use a paring knife to trim the top edge of the dough so it is even with the rim of the pan. Press any scraps into the bottom crust. Cover with plastic wrap and place in the freezer for at least 30 minutes.
- Preheat the oven to 350°F and set an oven rack in the middle position.
- Place the chilled crust on a baking sheet (for easy handling) and bake until dry and very lightly golden, about 20 minutes. Let cool on the baking sheet on a wire rack while you prepare the filling.
For the Chocolate Filling
- Place the chocolate in a medium bowl. In a small saucepan, bring the heavy cream to a boil. Pour over the chocolate and let sit for a few minutes, then whisk until melted and smooth. Add the sugar and salt and whisk until well incorporated. Add the eggs and vanilla and whisk until completely smooth. Pour the filling into the baked tart shell and pop any air bubbles with a toothpick. Bake for 20 to 25 minutes, until the filling is mostly set but still a bit wobbly in the center. Let cool completely in the pan on a wire rack, about 1 hour. The tart can be refrigerated at this point for up to 2 days (but bring to room temperature before glazing).
For the Chocolate Glaze
- On the day of serving, pour the cream and corn syrup into a medium microwave-safe bowl. Microwave on high until boiling, 30 seconds to 1 minute. Add the chocolate and let stand for a few minutes to allow the chocolate to soften. Whisk gently until the chocolate is melted and smooth, then whisk in the hot water. Working quickly so it doesn’t cool and thicken, pour the glaze onto the center of the tart, then carefully tilt the tart around to allow the glaze to run evenly to the edges. Let stand until the glaze is set, about 1 hour, and leave out at room temperature until serving.
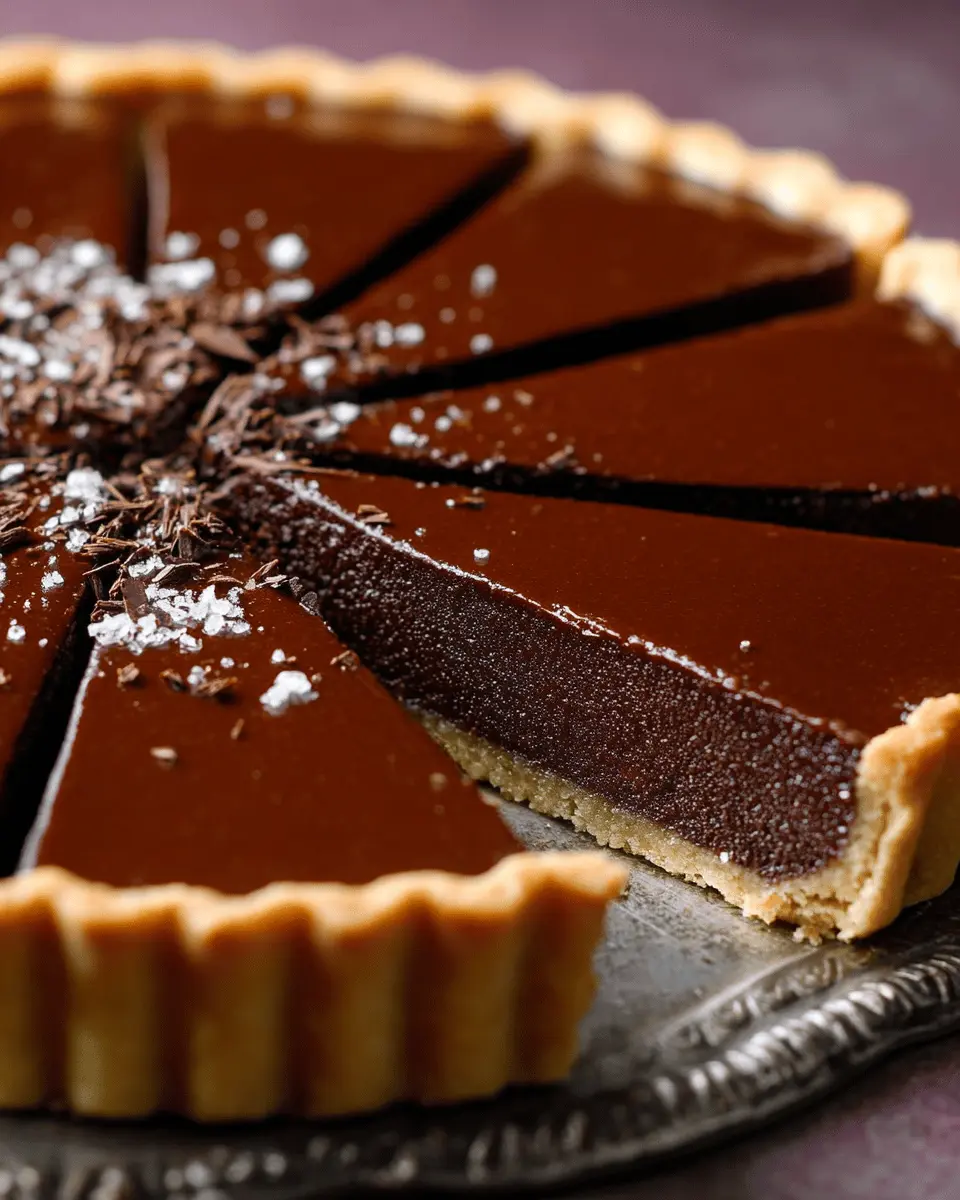
- Remove the outer ring from the tart pan. Insert a metal spatula between the crust and pan bottom to loosen the tart and slide it onto a serving platter (or just leave the bottom in place). Cut into wedges, wiping the knife clean between slices, and serve plain or with sweetened whipped cream. Leftovers will keep nicely in a covered container in the refrigerator for up to 4 days (although the glaze will lose its sheen).
- Make-Ahead Instructions: The tart can be made, without the glaze up to 2 days ahead of time, and refrigerated. Bring to room temperature before glazing.
Leave a Reply