
Introduction to Mini Lemon Cheesecakes
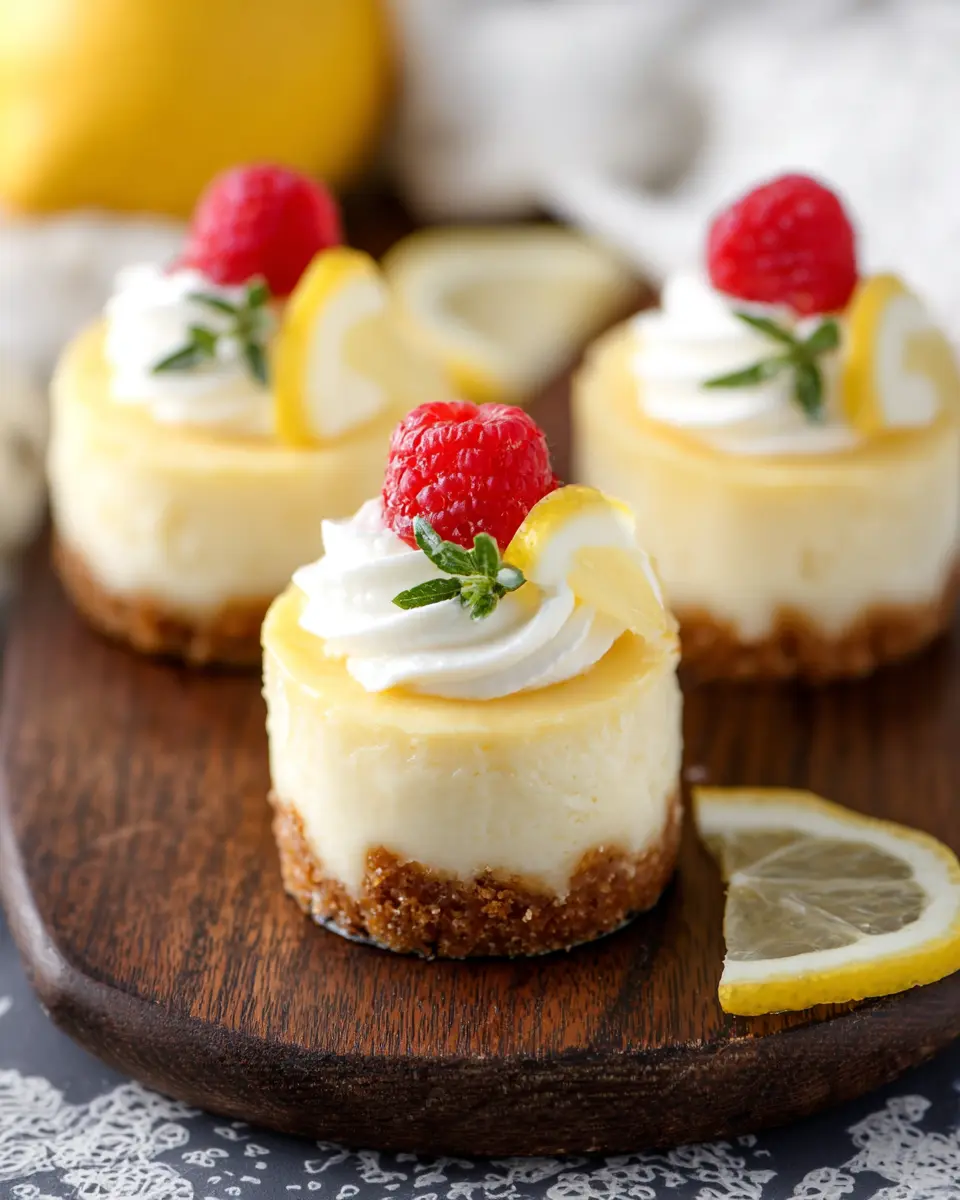
Lemon cheesecake is a timeless dessert, and mini lemon cheesecakes take this classic treat to new heights! Perfectly sized for individual portions, these delightful bites are bursting with zesty flavor and creamy goodness. Whether you’re hosting a dinner party or simply seeking a sweet escape after a long day, these little gems are bound to impress.
Why are mini lemon cheesecakes the perfect treat?
-
Portion Control: Unlike a large cheesecake that can be daunting to slice, these mini versions make it easy to enjoy just the right amount. Plus, they’re great for sharing!
-
Versatile Presentation: Dress them up with fresh berries, whipped cream, or a sprinkle of lemon zest for a stunning dessert display. They can elevate any gathering, from casual brunches to formal events.
-
Ease of Preparation: If you're short on time, these cheesecakes are a breeze to whip up! They bake quickly and chill in the fridge, ready to wow your guests with minimal effort.
The balance of the rich creaminess of the cheesecake and the refreshing zing of lemon creates a delightful contrast. Interested in more lemon-infused delights? Check out articles on the health benefits of lemons on Healthline and simple lemon recipes from BBC Good Food. Enjoy, and let’s dive into the recipe!
Ingredients for Mini Lemon Cheesecakes
Creating Mini Lemon Cheesecakes is a delightful process that’s sure to impress friends and family. Let’s break down the ingredients to keep things simple!
Ingredients for the crust
For the perfect crust that holds the cheesecake’s creamy goodness, you will need:
- 6 full sheets (90 grams) of graham crackers (or ¾ cup of graham cracker crumbs)
- 3 tablespoons (45 grams) of melted butter
- 2 tablespoons (25 grams) of granulated sugar
This crust sets the foundation for your cheesecakes, providing that delightful crunch and sweetness!
Ingredients for the lemon cheesecake filling
The filling is where the magic truly happens. Gather these ingredients:
- 12 ounces of brick-style cream cheese, softened to room temperature
- ½ cup (100 grams) of granulated sugar
- 3 tablespoons (45 ml) of freshly squeezed lemon juice
- Zest of one lemon for that refreshing tang
- 1 teaspoon of pure vanilla extract
- 1 large egg, at room temperature
- 1 large egg yolk, at room temperature
These ingredients create a rich, creamy filling with a zesty twist that defines these mini desserts. Ready to bake? For more tips on achieving the ideal cheesecake texture, check out this cheesecake baking guide.
Preparing Mini Lemon Cheesecakes
Making mini lemon cheesecakes is a delightful and rewarding experience that will leave your taste buds bursting with flavor. Here’s a step-by-step guide to creating these delectable treats.
Step 1: Prepare the crust
Start off by prepping your kitchen. Preheat your oven to 325°F (163°C). While it’s warming up, grab your 12-count mini cheesecake pan and spray each cavity generously with nonstick cooking spray. If you’re using a standard muffin pan, I highly recommend lining each cavity with cupcake liners to make removal a breeze later.
Step 2: Make the crust mixture
For the crust, you’ll need graham crackers, melted butter, and sugar. If you haven’t already, crush your graham crackers until they resemble fine crumbs. A blender or food processor works wonders here, but a good old-fashioned ziplock bag and rolling pin can also do the trick. In a mixing bowl, combine the graham cracker crumbs with melted butter and sugar until everything is well mixed—think of it as creating a sandy beach that will eventually cradle your mini lemon cheesecakes.
Step 3: Bake the crust
Evenly distribute the crust mixture into each cheesecake cavity, pressing firmly to create a solid base. Pop the pan into the oven for about 5 minutes. This step not only sets the crust but also enhances its flavor. Once the time’s up, take them out and let them cool—keep your oven running at the same temperature, as you'll need it shortly!
Step 4: Prepare the cheesecake filling
Now for the star of the show: the cheesecake filling! In a stand mixer, combine softened cream cheese and sugar, mixing until smooth. Add in fresh lemon juice, lemon zest, and vanilla extract for an exquisite touch. After everything is combined, mix in one egg and one egg yolk, being careful not to overmix. This will ensure your filling remains creamy while avoiding unwanted air pockets.
Step 5: Fill the mini cheesecake pans
Carefully pour the cheesecake mixture over the cooled crusts, making sure to fill each cavity evenly. This is where the magic truly happens—the vibrant lemon flavor will meld with the creamy texture, creating an indulgent treat.
Step 6: Bake the mini cheesecakes
Slide the filled mini cheesecakes back into the oven and let them bake for 17-20 minutes. You’ll know they are ready when the tops appear set yet slightly jiggly in the center. Avoid the temptation to overbake, as this could lead to cracks.
Step 7: Cooling and chilling
Once baked, remove them from the oven and let them cool at room temperature for at least an hour. Afterward, cover them tightly with plastic wrap and chill in the fridge for at least 3-4 hours—though overnight is even better! This chilling step solidifies the texture and allows the flavors to deepen.
Once cooled, your mini lemon cheesecakes are ready to shine on the dessert table. Top with whipped cream and fresh berries for an extra touch. You’re in for a delightful treat that’s sure to impress! For more tips on serving, check out this comprehensive guide on dessert pairing.
Happy baking!
Variations on Mini Lemon Cheesecakes
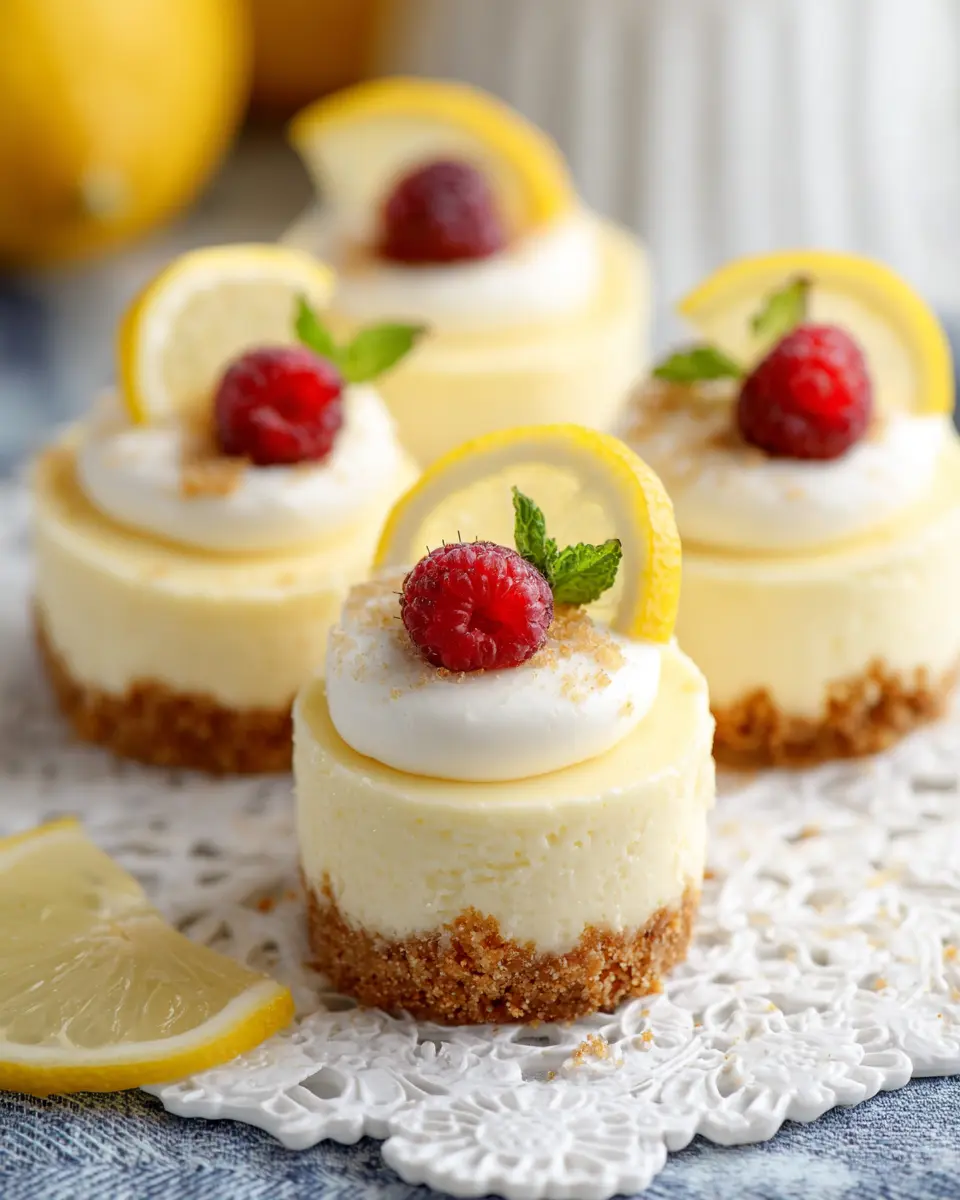
Berry-topped mini lemon cheesecakes
Elevate your mini lemon cheesecakes by adding a vibrant burst of freshness with berries! Top each cheesecake with a mix of strawberries, blueberries, or raspberries just before serving. Not only do they add color and flavor, but they also bring a delightful contrast to the creamy lemon filling. For a simple twist, consider making a quick berry compote by simmering your favorite berries with a little sugar and lemon juice until they burst.
Mini lemon cheesecakes with a twist
Why stop at classic flavors? Experiment with different zests like orange or lime in your cheesecake for a refreshing twist. You can also fold in ingredients like white chocolate or coconut for an unexpected flavor combination. For a layered approach, create a thin layer of lemon curd atop the cheesecake filling before baking. The possibilities are endless, so let your creativity shine! If you're looking for more inspiration, check out this article on flavor pairings for exciting ideas!
Cooking tips and notes for Mini Lemon Cheesecakes
Common mistakes to avoid
When making mini lemon cheesecakes, one common pitfall is overmixing the batter. Doing so can incorporate too much air, resulting in cracks on the surface. Remember to mix on low speed and just until ingredients are combined. Also, avoid skipping the cooling step; letting your cheesecakes chill fully helps develop that delightful texture.
Important ingredient tips
Using high-quality cream cheese is crucial for a smooth filling. Opt for brick-style cream cheese, as it provides the best texture; spreadable varieties often lead to a runny mixture. Don’t forget to add fresh lemon juice and zest; they make a world of difference in elevating the flavors. For more ideas on lemon desserts, check out this insightful article on using citrus in baking.
Serving Suggestions for Mini Lemon Cheesecakes
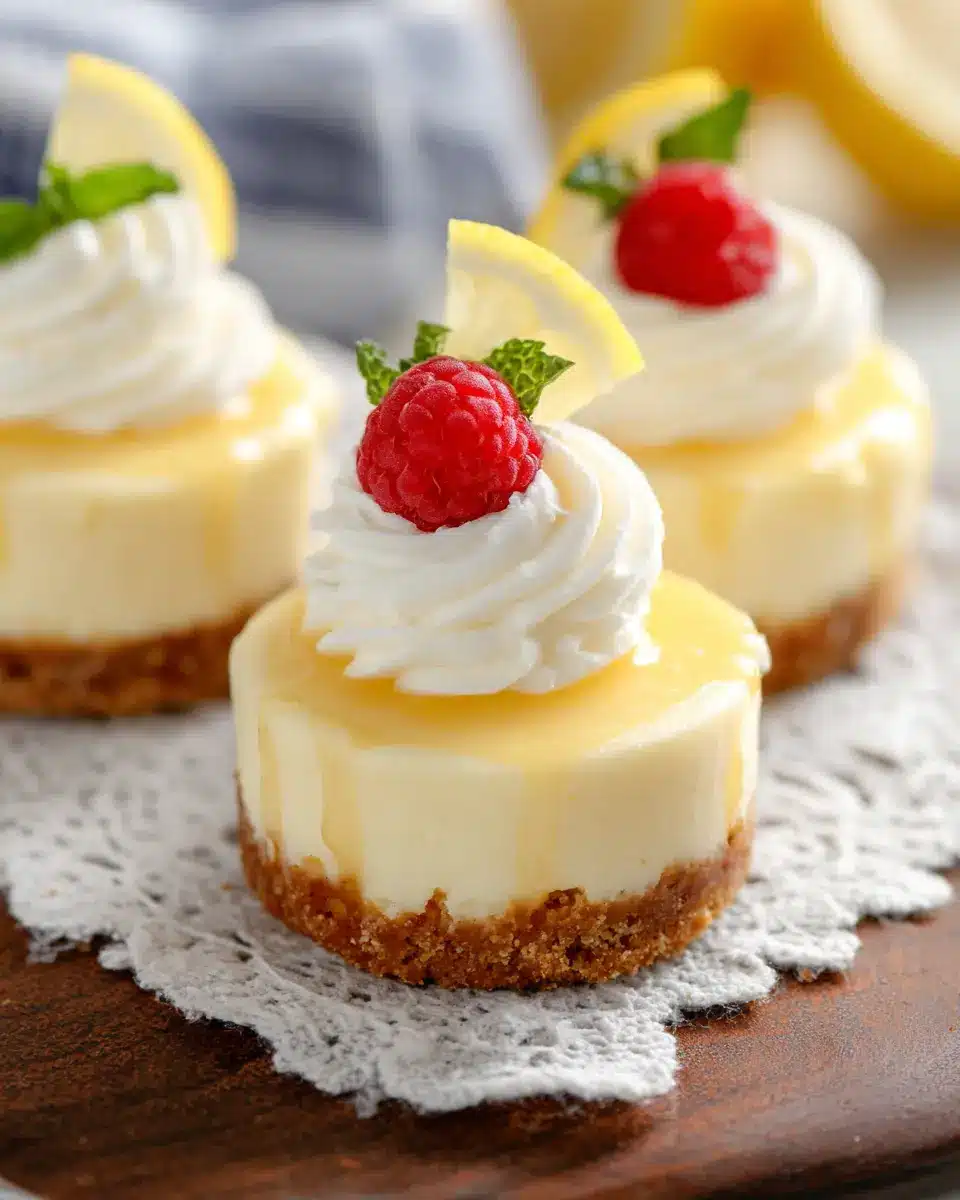
Plating Ideas
When it comes to presenting your mini lemon cheesecakes, a little creativity goes a long way! Consider arranging them on a vibrant platter adorned with lemon slices and fresh mint leaves for a pop of color. You can also serve them in individual dessert cups for a more modern touch. For added flair, drizzle some lemon curd over the tops before serving, giving each bite a refreshing burst of flavor that complements the creamy cheesecake.
Accompaniments for Serving
To elevate your mini lemon cheesecakes, pair them with a selection of delicious accompaniments:
- Fresh berries, such as strawberries or blueberries, for a fruity contrast.
- A dollop of whipped cream or coconut whipped cream for extra creaminess.
- Crushed graham crackers as a crunchy topping for texture.
- A light mint tea or a homemade lemonade to refresh the palate.
These combinations not only enhance the experience but also add beautiful colors and textures to your dessert table. Ready to impress your guests? Check out this article on presenting desserts beautifully for more tips!
Time Breakdown for Mini Lemon Cheesecakes
Preparation Time
Before diving into the baking, set aside about 30 minutes for preparation. This includes gathering your ingredients, making the crust, and mixing that delightful lemony filling. Having everything prepped will make the process smooth and enjoyable.
Cooking Time
The actual cooking will take around 20 minutes. You'll bake the crust for 5 minutes and the cheesecakes for an additional 17-20 minutes. Keep an eye on them as they bake to ensure they puff up beautifully!
Cooling and Chilling Time
Once baked, allow your mini lemon cheesecakes to cool at room temperature for at least 1 hour. After that, pop them in the fridge for about 3-4 hours, or even overnight, to achieve that perfect creamy texture. Trust me, the wait will be worth it! Enjoy these delightful treats when they're fully chilled - they’re absolutely divine!
For tips on making every bite count, check out this guide on cheesecake essentials. Happy baking!
Nutritional Facts for Mini Lemon Cheesecakes
Calories per serving
Each of these delightful mini lemon cheesecakes contains approximately 180 calories. A perfect treat that allows you to indulge without the guilt!
Key nutrients
These little cheesecakes are packed with some great nutrients:
- Protein: Important for muscle health and recovery.
- Calcium: Essential for strong bones and teeth, courtesy of the cream cheese.
- Vitamin C: From fresh lemon juice, boosting your immune system.
Discover more about the health benefits of lemons in this Nutritional Guide and elevate your dessert game while nourishing your body!
FAQs about Mini Lemon Cheesecakes
Can I make these cheesecakes ahead of time?
Absolutely! Mini lemon cheesecakes are perfect for prep-ahead desserts. You can make them up to two days in advance. Just ensure they are properly chilled in the refrigerator, which not only saves you time but also allows the flavors to develop even more!
How do I store leftover mini lemon cheesecakes?
If you have any leftovers (though they might disappear quickly!), simply store them in an airtight container in the refrigerator. They’ll stay fresh for about 3–4 days. For longer storage, you can freeze them; just wrap each cheesecake tightly in plastic wrap and then in aluminum foil. They can last up to a month in the freezer. Just thaw them in the fridge before serving!
What can I substitute for cream cheese?
If you're looking for alternatives to cream cheese, try using Greek yogurt or cashew cream for a vegan option. For a lighter option, ricotta cheese can also work well, though it will change the texture and flavor slightly, making your mini lemon cheesecakes still creamy but with a twist!
For more tips on ingredients, check out this article on substituting cream cheese!
Conclusion on Mini Lemon Cheesecakes
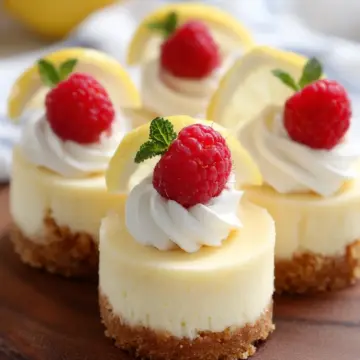
In summary, these mini lemon cheesecakes are a delightful treat perfect for any occasion. Their tangy lemon filling and buttery crust will impress your guests and satisfy your sweet tooth. Whether served at a dinner party or enjoyed as an afternoon snack, these cheesecakes promise to brighten your day. Happy baking!
Mini Lemon Cheesecakes
Equipment
- 12-count mini cheesecake pan
- blender or food processor
- stand mixer or electric mixer
Ingredients
Crust
- 6 full sheets graham crackers or ¾ cup graham cracker crumbs
- 3 tablespoons butter melted
- 2 tablespoons granulated sugar
Filling
- 12 ounces brick-style cream cheese softened to room temperature
- ½ cup granulated sugar
- 3 tablespoons fresh lemon juice
- 1 each lemon zest of one lemon
- 1 teaspoon pure vanilla extract
- 1 large egg room temperature
- 1 large egg yolk room temperature
Instructions
Make the Crust
- Preheat oven to 325°F. Spray each cavity of a 12-count mini cheesecake pan well with nonstick cooking spray and set aside.
- Add the graham crackers to a blender or food processor and process until you have fine crumbs.
- Scoop the crumbs into a mixing bowl, add the melted butter and sugar, and mix until everything is well combined.
- Evenly distribute the mixture between all 12 cavities in the mini cheesecake pan, pressing down firmly.
- Bake at 325°F for 5 minutes, remove from the oven, and set aside to cool.
Make the Cheesecake Filling
- In a stand mixer or large mixing bowl, beat the cream cheese until smooth.
- Add granulated sugar and mix until well combined.
- Add the lemon juice, lemon zest, and vanilla extract, mixing until combined.
- Mix in the egg and egg yolk on low speed until just combined.
- Evenly distribute the cheesecake filling between the cavities of the mini cheesecake pan and return to the oven.
- Bake at 325°F for 17-20 minutes or until the tops are set.
- Remove from the oven and allow to cool at room temperature for at least 1 hour.
- Cover tightly with plastic wrap and refrigerate for at least 3-4 hours or overnight.
- Once chilled, remove from the pan and serve topped with whipped cream and fresh berries if desired.
Leave a Reply