
Introduction to Homemade Cream Puffs
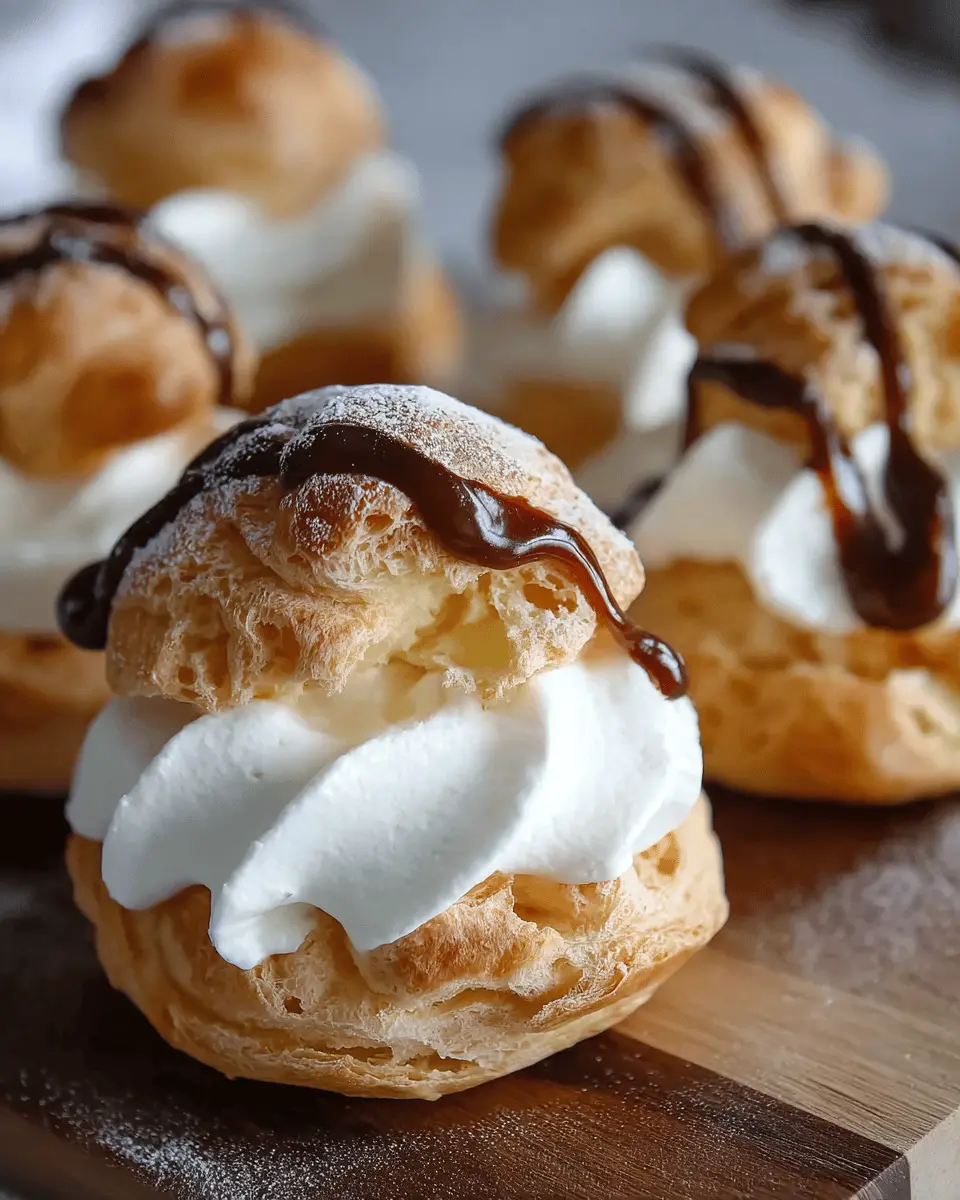
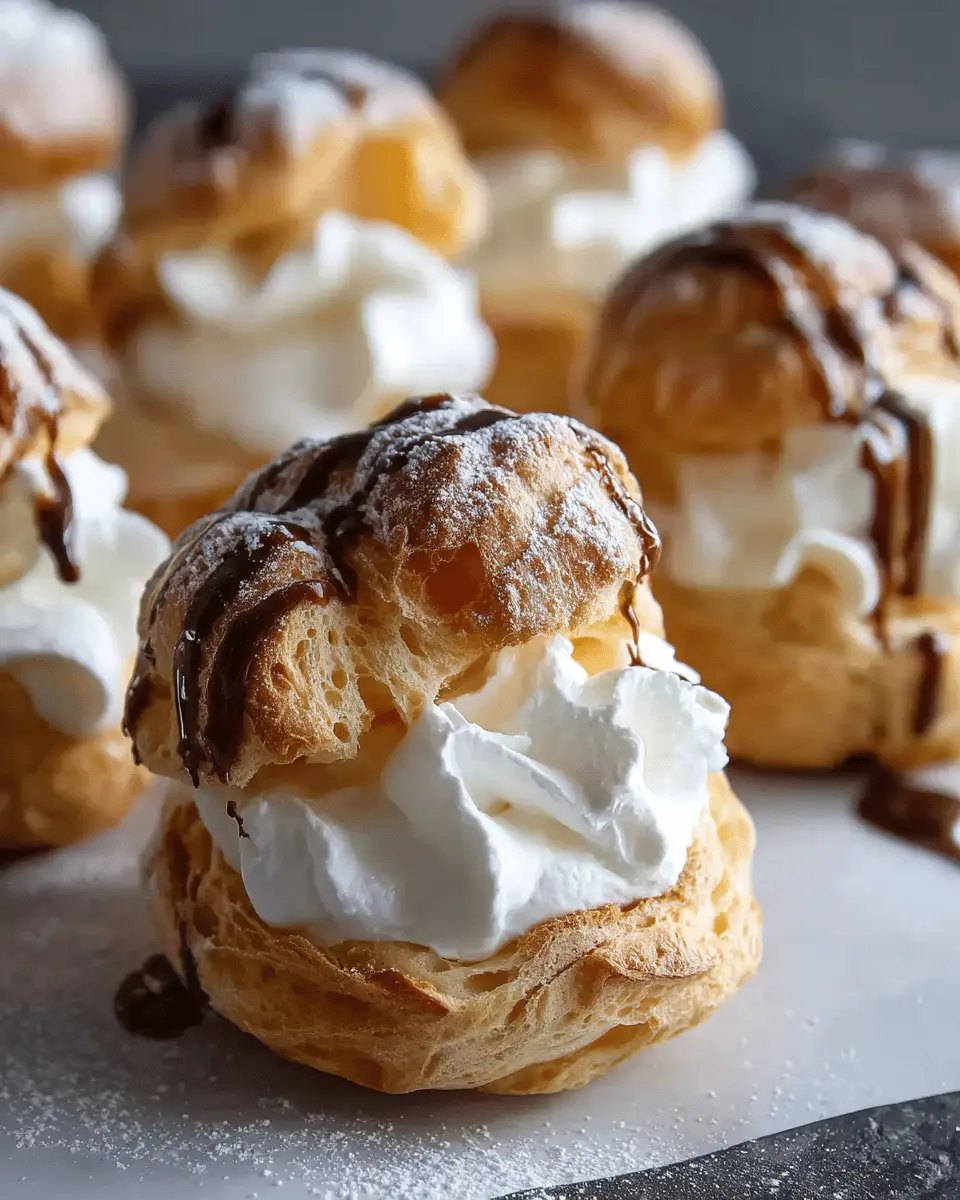
Homemade cream puffs are not just a treat; they’re an experience that elevates any gathering. The magic of these classic French desserts lies in their brilliant contrast: the airy, crispy shells and the luscious whipped cream filling. Each bite transports you to a cozy Parisian café, where indulgence meets elegance.
Why You Should Love Homemade Cream Puffs
Making your own cream puffs may seem daunting, but it’s surprisingly simple and totally rewarding. Think about it: you control the ingredients, allowing you to customize flavors to your liking. Want a hint of vanilla? Or perhaps some rich chocolate? The options are endless! Plus, sharing these delicate pastries with friends or family creates a delightful bonding moment, filled with laughter and joy.
Did you know that choux pastry has been around since the 16th century? Its versatility means you can use it for both sweet and savory dishes. So, if you're feeling adventurous, consider trying savory variations, too! Explore the world of culinary creativity by venturing into different fillings and toppings.
Embarking on this homemade journey not only impresses your guests but also ensures a fresher, more delightful bite. Are you ready to whip up some delicious homemade cream puffs? Let’s dive into the recipe!
For a detailed guide, check out this fantastic article on the art of choux pastry here.
Ingredients for Homemade Cream Puffs
Creating delightful homemade cream puffs begins with the right ingredients and a pinch of love. Let's break down the essentials!
Essential Ingredients for Pâte à Choux
To achieve those light, airy shells, you'll need:
- Water: 1 ¼ cups (300 ml), divided
- Granulated Sugar: 1 teaspoon (4 g), which enhances browning
- Kosher Salt: ½ teaspoon (2 g) for flavor
- Unsalted Butter: ½ cup (114 g), cut into slices for easy melting
- All-Purpose Flour: 1 cup (124 g), spooned and leveled for precision
- Eggs: 4 large, bringing richness to the dough
Ingredients for Whipped Cream Filling
No cream puff is complete without a fluffy filling! Gather these:
- Heavy Whipping Cream: 2 cups (480 ml) for that rich texture
- Powdered Sugar: ½ cup (24 g), or granulated sugar for sweetness
- Pure Vanilla Extract: 1 teaspoon (5 ml) for aromatic flavor
Special Equipment Needed
To whip up these treats like a pro, you’ll want some handy tools:
- Stand Mixer: Essential for whipping cream effortlessly
- Cooling Rack: Helps your pastries cool evenly
- Pastry Bags: Ideal for piping the dough and whipped cream
- Plain and Star Pastry Tips: For that perfect finishing touch
Now that you have your ingredients and tools ready, you're on your way to impressing friends and family with your delectable homemade cream puffs. For more tips and inspiration, check out resources like finecooking.com or bonappetit.com!
Preparing Homemade Cream Puffs
Creating your own homemade cream puffs may seem like a daunting task, but once you get started, you'll find it's a rewarding experience that results in a delicious, delicate dessert. Let’s walk through the steps together!
Preheat the Oven and Prepare Baking Sheets
Start by preheating your oven to 425°F (218ºC). Make sure you set your oven racks to the upper-middle and lower-middle positions. This step is crucial, as a well-heated oven ensures your cream puffs will rise perfectly. While the oven preheats, line two baking sheets with parchment paper. This not only helps with easy cleanup but also prevents the dough from sticking.
Make the Pâte à Choux Dough
In a heavy-bottomed saucepan, combine 1 cup of water, sugar, salt, and butter, then bring it to a boil over medium-high heat. Stir until the butter melts completely. Once melted, remove the pan from heat and swiftly stir in the flour. This will create a thick dough, known as pâte à choux, which is the base for your cream puffs. Cook the dough for about 4-5 minutes until it pulls away from the sides and forms a ball.
Cool and Incorporate Eggs into the Dough
Next, transfer the dough to a stand mixer fitted with a paddle attachment and mix on low speed until it cools slightly—about 2-3 minutes. This cooling is important since it prevents the eggs from scrambling when you add them. Incorporate the eggs one at a time, mixing well until fully absorbed. You're aiming for a shiny, thick dough that can hold its shape.
Pipe the Dough onto Baking Sheets
Grab a piping bag fitted with a large plain or star tip. If you find the dough sticking, a light spritz of cooking spray inside the bag can help. Pipe 2-inch circles onto the prepared baking sheets, spacing them two inches apart because they’ll expand as they bake. To avoid any sharp tips on the tops, wet your fingers and gently flatten them if needed.
Brush Egg Wash and Bake
Create a shiny exterior by brushing the tops with an egg wash made of beaten egg and water. This is where that golden-brown color comes from! Place your pans in the oven and bake them like a pro, following the gradual baking process detailed in the recipe. Please, resist the urge to peek inside—the oven’s heat is essential at this stage!
Prepare the Whipped Cream Filling
While the shells bake, whip up the filling! Add heavy cream, powdered sugar, and vanilla extract to your stand mixer, and whip until you achieve stiff peaks. Don’t overwhip, as the cream can turn grainy. The goal is to have a light and fluffy filling that pairs beautifully with the crispy pastry shells.
Fill the Baked Shells with Whipped Cream
Once your cream puffs have cooled completely, carefully cut them in half. Use a piping bag to fill the bottom halves generously with whipped cream. Then, gently place the tops on, completing your lovely little puffs!
Dust with Powdered Sugar for Serving
Finally, give your homemade cream puffs a light dusting of powdered sugar just before serving. This adds a touch of elegance and sweetness! These treats are best enjoyed fresh but can be stored in the refrigerator if needed.
Follow these steps, and you'll impress your friends and yourself with your very own cream puffs! Who knows, this might just become your go-to dessert. For more tips on baking or variations on this classic recipe, check out King Arthur Baking for inspiration!
Variations on Homemade Cream Puffs
Chocolate Cream Puff Filling
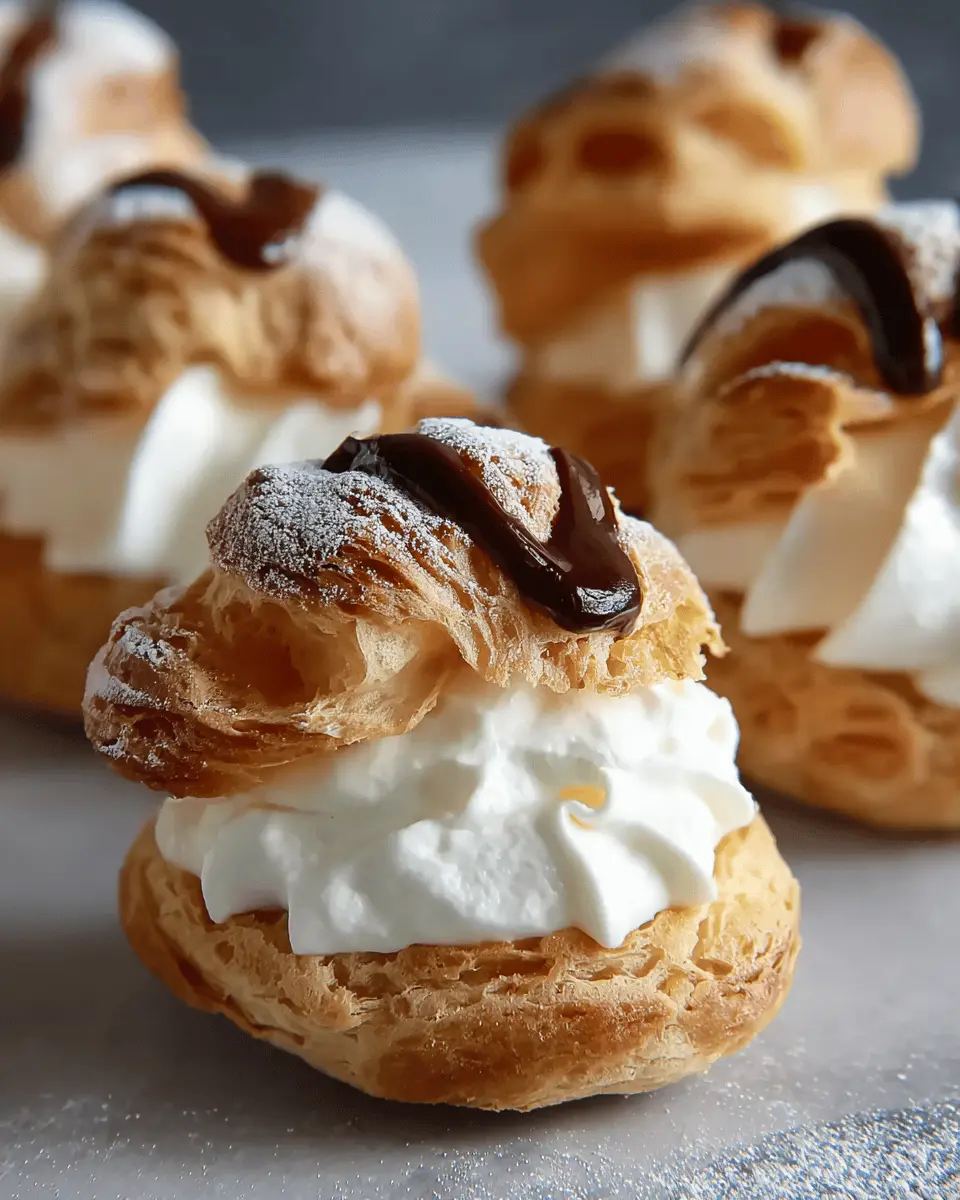
For a decadent twist on homemade cream puffs, try a rich chocolate cream filling! Simply melt 4 ounces of dark chocolate and allow it to cool slightly. Whip in 1 cup of chilled heavy cream until stiff peaks form. The result? A luscious, chocolate-infused delight that will satisfy any sweet tooth. This variation not only elevates the classic cream puff but adds an indulgent flair that's perfect for special occasions or a sweet pick-me-up.
Fruit-Flavored Whipped Cream Variations
Feeling fruity? Add a burst of flavor by incorporating fruit purees into your whipped cream. Blend 1 cup of your favorite fruits—try strawberries, raspberries, or mangoes— and fold the puree into your whipped cream before piping it into your homemade cream puffs. This colorful variation brings vibrancy and freshness to your dessert, making it a hit at any gathering. For more inspiration on variations, check out this guide on creative dessert ideas!
Baking Notes for Homemade Cream Puffs
Tips for Achieving the Perfect Choux Pastry
Creating homemade cream puffs starts with the choux pastry. To get it just right, use fresh eggs at room temperature; they incorporate better and help aerate the dough. Always make sure to boil your water, butter, and sugar mixture before adding the flour, and mix until it pulls away from the pan. A good rule of thumb is to err on the side of adding fewer eggs—start with three and add the fourth only if necessary. This way, you maintain the right texture for piping!
Common Pitfalls to Avoid
Avoid the temptation to open the oven door while baking; your cream puffs need consistent heat to rise. Also, don’t skip the cooling step after making the dough, as this helps prevent scrambling the eggs when added. If your pastries end up flat, it’s likely they needed more hydration or baking time. For additional guidance, check out resources like King Arthur Baking for tips on perfecting your pastry skills!
Serving suggestions for Homemade Cream Puffs
Best ways to serve and enjoy cream puffs
When serving homemade cream puffs, presentation matters! Place them on a beautiful cake stand or a decorative platter for a stunning display. For a personal touch, consider dusting them lightly with powdered sugar just before serving. To elevate the experience, fill them right before your guests arrive for that fresh, whipped cream texture. Pairing with a dollop of fruit preserves or chocolate sauce adds a delightful contrast that your taste buds will thank you for!
Pairing ideas for cream puffs
Looking to complement your cream puffs even more? Here are some pairing ideas:
- Fresh berries, like strawberries or raspberries, which add a fruity burst.
- A cup of rich, brewed coffee or a creamy latte balances the sweetness perfectly.
- Serve with a side of homemade vanilla custard or chocolate sauce for drizzling.
These combination suggestions are sure to delight your guests and make any occasion a tad more special! If you're curious about more creative serving options, check out Baker's Royale for inspiration.
Time Breakdown for Homemade Cream Puffs
Preparation Time
Get ready to whip up a delightful batch of homemade cream puffs in just 30 minutes. This stage involves gathering your ingredients and making the choux pastry!
Baking Time
Once your dough is piped onto the sheets, it will take about 1 hour and 15 minutes to bake perfectly. Trust the process—don’t open the oven door during this critical time!
Total Time
In total, you'll spend approximately 1 hour and 45 minutes creating these delectable dessert gems. It’s worth every minute once you experience the crispy, airy goodness inside!
For more about the art and science of pastry making, consider learning about the pâte à choux technique on sites like Serious Eats.
Nutritional Information for Homemade Cream Puffs
Calories per cream puff
Each homemade cream puff contains approximately 116 calories, making them a delightful but moderate indulgence. These fluffy desserts are perfect for satisfying your sweet tooth without derailing your dietary goals.
Key Nutritional Benefits
Homemade cream puffs offer more than just a sweet taste; they also pack some nutritional perks:
- Protein: With 3 grams of protein, they provide a nice boost, especially when paired with the rich whipped cream filling.
- Saturated Fat: Each cream puff contains about 4 grams of saturated fat, which can be part of a balanced diet when enjoyed in moderation.
- Vitamins: They contain Vitamin A, providing around 251 IU, which is essential for maintaining healthy vision and skin.
For more detailed insights on dessert nutrition, consider checking resources like the USDA FoodData Central and consult with a nutritionist for personalized advice. Homemade treats can always be enjoyed guilt-free by balancing your overall diet!
FAQs about Homemade Cream Puffs
How can I store leftover cream puffs?
To keep your homemade cream puffs fresh, store them in the refrigerator, uncovered, for up to three days. However, they’re best enjoyed the same day for that delightful crispy texture. If you have unfilled shells, you can keep them in an airtight container at room temperature for about five days or freeze them for up to a month. Just reheat in the oven at 300°F to restore their crispiness before filling.
Can I make the shells in advance?
Absolutely! You can prepare the shells ahead of time. Just bake them and let them cool completely. Store in an airtight container at room temperature or freeze them if you won’t be using them right away. They’re super versatile and can be filled just before serving!
What is the best way to fill cream puffs?
For a beautiful presentation, use a pastry bag with a star tip to pipe your whipped cream into the shells. Slice the shells in half horizontally to create a top and bottom, and ensure you fill them generously! This method keeps the filling from squishing out and makes each bite a creamy delight. For more tips, check out this guide on pastry techniques.
Conclusion on Homemade Cream Puffs
Creating homemade cream puffs is an enjoyable experience that blends artistry with flavor. These delightful pastries not only impress with their airy texture but also with their versatility in fillings. Whether you choose sweet whipped cream or experiment with your favorite flavors, these cream puffs are sure to become a cherished dessert!
Homemade Cream Puffs: Easy Indulgence for Your Sweet Cravings
Equipment
- Stand Mixer
- Cooling Rack
- Pastry Bag
- Plain Pastry Tip
- Star Pastry Tip
Ingredients
Pâte à Choux
- 1.25 cup water divided
- 1 teaspoon granulated sugar
- 0.5 teaspoon kosher salt
- 0.5 cup unsalted butter cut into 8 slices
- 1 cup all-purpose flour spoon and leveled
- 4 large eggs
- 0.25 cup powdered sugar for dusting
Egg Wash
- 1 large egg
- 1 tablespoon water or milk
Whipped Cream
- 2 cups heavy whipping cream or heavy cream
- 0.5 cup powdered sugar or granulated sugar
- 1 teaspoon pure vanilla extract
Instructions
Preparation
- Preheat the Oven. Set the oven racks to upper-middle and lower-middle positions. Preheat to 425°F (218ºC). Line two sheet pans with parchment paper and set them aside.
- Make the Dough. In a large heavy-bottomed saucepan, add 1 cup of water, sugar, salt, and butter. Bring to a boil over medium-high heat and stir until the butter fully melts, about 2 minutes.
- Turn off the heat and immediately add the flour. Vigorously stir with a large spoon until the flour is incorporated. Increase the heat to medium, stir constantly until it clumps together, about 4 to 5 minutes.
- Cool the Dough. Transfer the dough to a bowl of a stand mixer fitted with a paddle. Slowly stir on low speed until it cools to 130°F (54ºC), about 2 to 3 minutes.
- Add the Eggs in Stages. Add eggs one at a time, mixing on medium-low speed until fully incorporated. Check the dough's consistency and adjust if necessary.
- Piping the Dough. Use a large plain tip on a piping bag and pipe 2-inch circular balls on the sheet pan, at least 2 inches apart.
- Brush on Egg Wash. Whisk together one egg and 1 tablespoon of water in a small bowl and brush the tops of each dough ball.
- Gradual Baking Process. Bake for 10 minutes at each of the specified temperatures, totaling about 60 to 70 minutes of baking time. Do not open the oven door.
- Make the Whipped Cream. In a stand mixer, whip the heavy cream, powdered sugar, and vanilla extract until stiff peaks form.
- Piping the Cream. Add whipped cream to a pastry bag, cut the shells in half, and pipe the cream into the pastry bases.
- Top with Sugar. Sprinkle powdered sugar on top of each cream puff and serve immediately or refrigerate if not serving right away.
Leave a Reply