
Introduction to Garlic Dinner Rolls
Are you a young professional looking to add some flavor-filled flair to your weeknight dinners? Look no further than these irresistible garlic dinner rolls! Not only do they elevate any meal, but their garlicky goodness will make you the star of your dinner table.
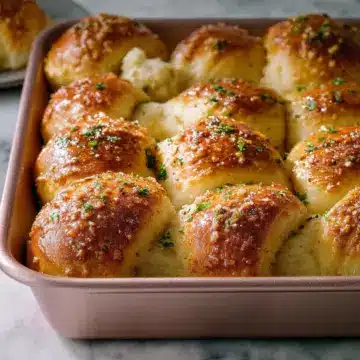
Imagine walking into your kitchen and filling the air with the tantalizing aroma of freshly baked rolls bursting with buttery, garlicky flavor. These rolls are a game-changer for busy individuals: they are easy to prepare, require minimal ingredients, and can be made ahead of time. Plus, who doesn’t love the warm, comforting embrace of freshly baked bread after a long day at work?
Even if you're busy, you can manage the prep and let the dough rise while you take care of other tasks. For those inspired by a little more culinary adventure, explore sources from sites like Serious Eats for bread-making tips that can elevate your skills. In no time, you’ll be wowing your friends and family, turning simple dinners into something extraordinary with these delightful garlic dinner rolls as the perfect sidekick. So roll up your sleeves and prepare to get baking!
Ingredients for Garlic Dinner Rolls
Key ingredients you'll need
To create delightful garlic dinner rolls, gather the following essential ingredients:
- All-purpose flour (4 ½ cups): This will provide the foundation for your fluffy rolls.
- Instant yeast (2 envelopes): Key for achieving that lovely rise.
- Sugar (5 tablespoons): Balances the flavors and helps with browning.
- Kosher salt (2 teaspoons): Enhances the taste of the bread.
- Whole milk (1 ⅓ cups): Adds richness and moisture.
- Eggs (1 large and 2 yolks): Provides structure and a delicious flavor.
- Butter (½ cup total): Both for the dough and the filling; the more butter, the better!
For exact measurements, check out the complete recipe. Learn about the benefits of yeast to help in understanding how it works!
Optional additions for personalized flavors
Feel free to put your spin on these garlic dinner rolls. Consider adding:
- Cheese: Try mixing in shredded mozzarella or parmesan for a cheesy twist.
- Herbs: Fresh rosemary or thyme can complement the garlic beautifully.
- Spices: A pinch of crushed red pepper flakes could add a kick!
By experimenting with these optional ingredients, you can create garlic dinner rolls that reflect your unique taste preferences! Happy baking!
Preparing Garlic Dinner Rolls
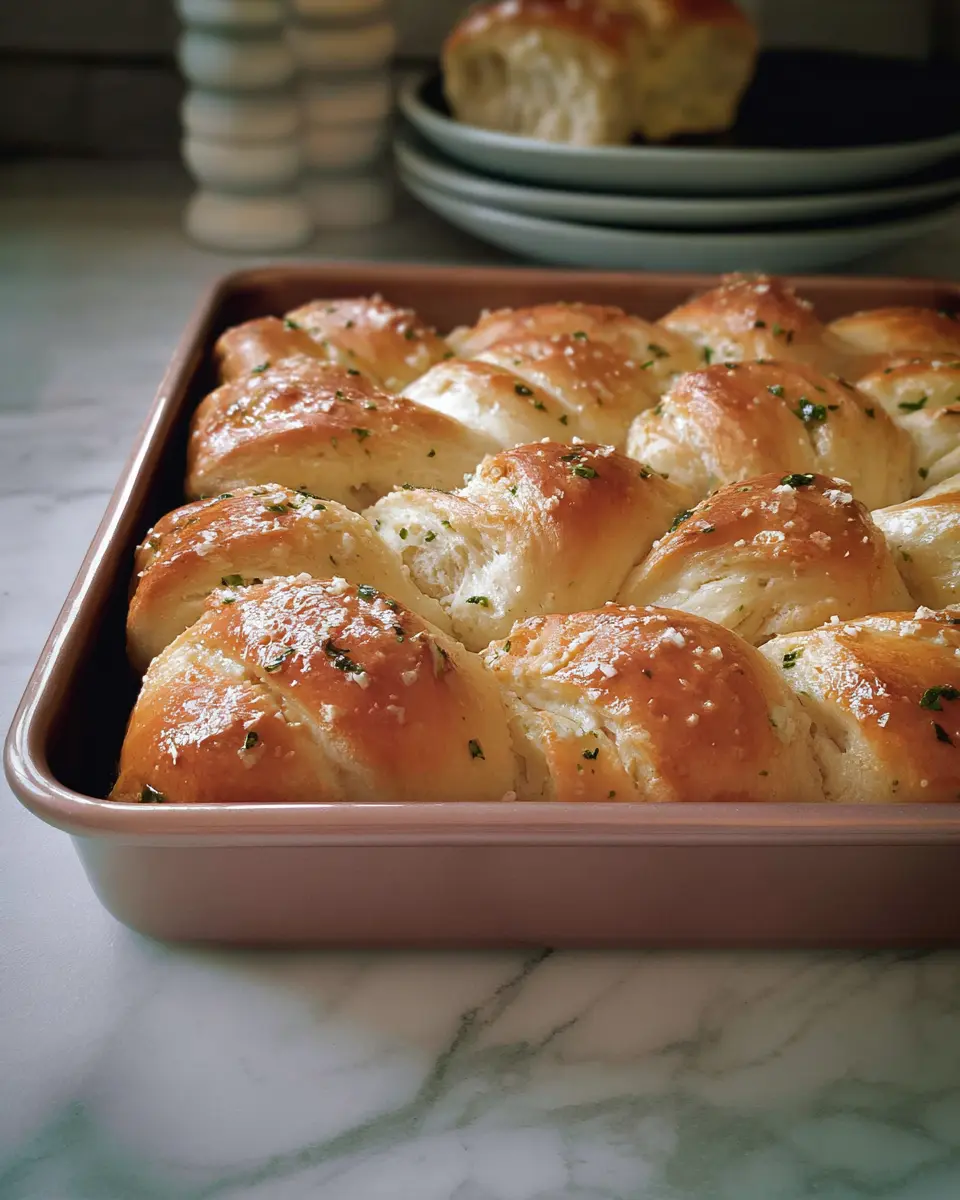
Making garlic dinner rolls is a delightful process that brings together the beauty of baking with the irresistible aroma of garlic and fresh parsley. The journey starts in your kitchen, where a few simple steps will lead you to a batch of fluffy, flavor-packed rolls. Let’s get started!
Gather Your Ingredients and Equipment
Before diving in, it's essential to have everything ready. Here’s what you’ll need:
-
Equipment:
-
A 9x13-inch baking pan
-
A stand mixer (if you don’t have one, don’t worry! You can mix and knead by hand)
-
Rolling pin
-
Mixing bowls
-
Ingredients:
-
For the dough: All-purpose flour, sugar, instant yeast, kosher salt, whole milk, unsalted butter, and eggs.
-
For the filling: Unsalted butter, garlic, fresh Italian parsley, and salt.
-
For the topping: Beaten egg for wash and flakey sea salt.
Make the Dough Mixture
Start by mixing the dry ingredients in your stand mixer. This includes flour, sugar, yeast, and salt. Next, heat the milk and butter until the butter melts, but don’t let it boil. Combine this warm mixture with the dry ingredients in the bowl. Attach your mixer’s hook and knead for about 5-7 minutes until you have a smooth and elastic dough.
Tip: If kneading by hand, it may take about 10-15 minutes to achieve the same texture.
Let the Dough Rise
Once your dough is kneaded, transfer it to a well-oiled bowl, cover it with a clean kitchen towel, and let it rise in a warm area for 30 to 40 minutes. This step is crucial as it allows the yeast to work its magic, giving your rolls that delightful fluffiness.
Prepare the Garlic Filling
While the dough rises, mix softened butter, grated garlic, chopped parsley, and salt in a smaller bowl. This filling is the heart of your garlic dinner rolls, providing a burst of flavor in every bite!
Assemble the Rolls
Once your dough has doubled in size, turn it out onto a lightly floured surface. Roll it out into a rectangle (about 13” x 21”). Spread your garlic filling evenly over the dough, then fold the dough like a letter to create layers. Cut it into strips, and twist each strip into a cute roll, placing them in your greased baking pan.
The Final Rise Before Baking
Cover your assembled rolls and let them rise again for about 1 to 1.5 hours, or until puffy. This second rise ensures they are light and fluffy after baking. If you let the dough rest in the fridge overnight, be prepared for a longer rise time now.
Bake to Perfection
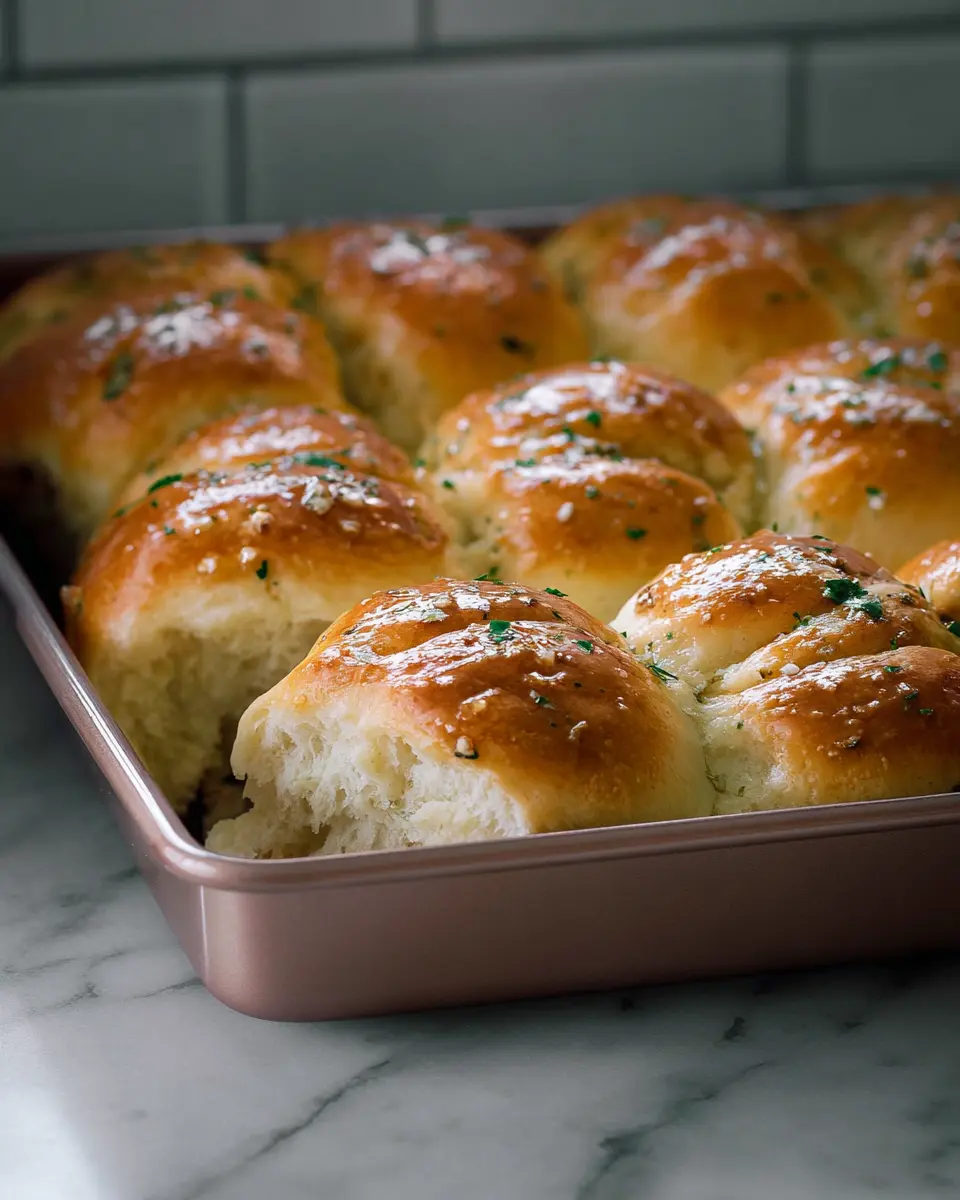
Preheat your oven to 350°F. Brush the tops of your rolls with the beaten egg wash for a lovely golden finish. Bake for 20 minutes, until they're beautifully golden. Once out of the oven, brush with melted butter and sprinkle with flakey sea salt for that finishing touch.
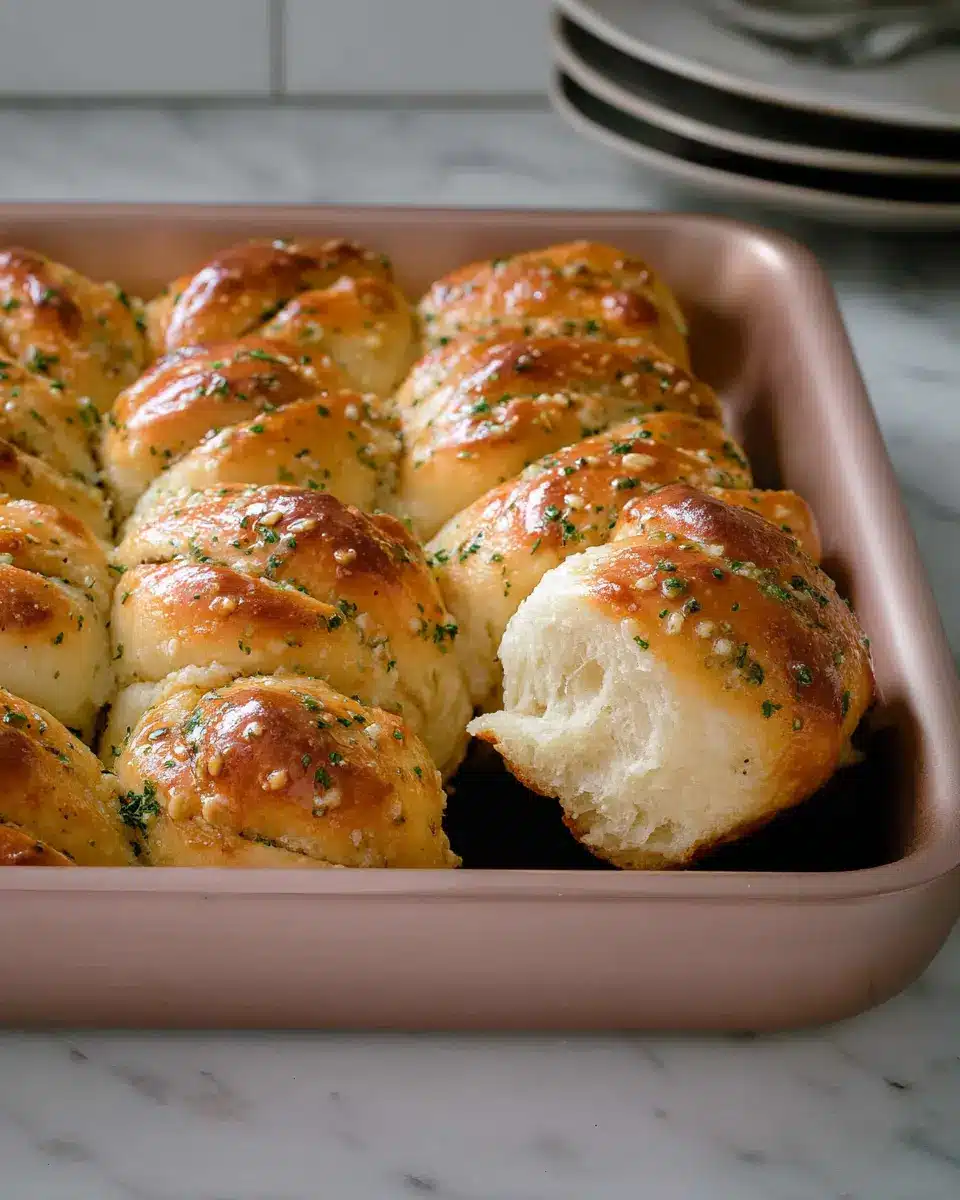
Voilà! Your garlic dinner rolls are ready to be devoured. Serve them warm alongside your favorite meal for a truly satisfying experience. Happy baking!
Variations on Garlic Dinner Rolls
Vegan Garlic Dinner Rolls
Craving those garlicky dinner rolls but want to skip the dairy? No problem! Simply replace the butter with a vegan alternative, like coconut oil or a plant-based butter. For the milk, almond or oat milk will work beautifully and add a subtle sweetness to the rolls. You won’t sacrifice flavor or texture—it’s a win-win!
Herb-Infused Garlic Dinner Rolls
Take your garlic dinner rolls to the next level by adding your favorite herbs! A mix of rosemary, thyme, or basil can lend an aromatic twist. Simply chop and mix them into your garlic butter filling. Not only will these rolls be incredibly flavorful, but they’ll also elevate your meal. Imagine the delightful herb aroma wafting through your kitchen! Mixing different herbs can bring a unique flair, allowing you to customize these rolls to fit any occasion.
Exploring variations not only keeps things interesting but also helps you tailor your rolls to fit any dietary preference or flavor profile.
Cooking Tips and Notes for Garlic Dinner Rolls
Common Mistakes to Avoid
When making garlic dinner rolls, watch out for a few common pitfalls. Make sure your milk is lukewarm when adding it to the yeast; too hot kills yeast, while too cool won’t activate it. Another mistake? Overkneading; your dough should feel smooth and elastic, not tough. Lastly, be cautious with rising times—if they don't double in size, the rolls could end up dense.
Storage Tips for Leftovers
If you’re lucky enough to have leftovers (which is rare!), store your garlic dinner rolls in a seal-tight bag at room temperature to keep them fluffy. When you’re ready to enjoy, wrap them in foil and reheat in a 200°F oven for about 10 minutes. This way, they'll taste just as fresh as the day you baked them!
Serving suggestions for Garlic Dinner Rolls
Perfect pairings with your favorite dishes
Garlic dinner rolls are a delightful addition to various meals. They're perfect alongside comforting soups like creamy tomato or a hearty beef stew. You can also serve them with your favorite salads for a satisfying contrast, or enjoy them as a sidekick to grilled chicken or Turkey Bacon for a cozy family dinner. Don’t forget to pair them with a rich herbed butter or a tangy dipping sauce to elevate their flavor!
Creative ways to enjoy day-old rolls
If you've got leftover garlic dinner rolls, don’t let them go to waste! Transform them into bread pudding by soaking them in a mixture of eggs, milk, and your favorite spices. You can also slice them for delicious croutons—perfect for salads or soups. For a quick snack, try toasting them with a bit of garlic-infused olive oil and a sprinkle of parmesan. With just a little creativity, those rolls can shine again in a whole new way!
Time Breakdown for Garlic Dinner Rolls
Creating the perfect garlic dinner rolls is a delightful journey through time. Here’s how your time will break down for this delicious recipe:
Preparation Time
Get your kitchen ready! The prep time for these rolls is about 1 hour. This includes gathering ingredients and mixing the dough.
Rising Time
Patience is key! The dough will need approximately 1 hour and 30 minutes to rise, allowing it to become fluffy and puffy.
Baking Time
Once your rolls have risen, they’ll bake for about 20 minutes. This is the moment when your kitchen fills with that irresistible garlicky aroma.
Total Time
By the time you’re savoring these tasty bites, about 2 hours and 50 minutes will have passed. This includes all prep, rising, and baking time.
Feel free to check out more tips on how to make your garlic dinner rolls even more epic through this insightful article. Happy baking!
Nutritional Facts for Garlic Dinner Rolls
Caloric Content
Each garlic dinner roll packs approximately 255 calories, making them an indulgent yet manageable addition to your meal. Perfect for a cozy dinner with friends or family, these rolls provide comfort without overloading on calories.
Protein Levels
With around 5 grams of protein per roll, these garlic dinner rolls provide a decent boost, especially when enjoyed alongside a heartier dish. Pair them with a protein-rich side like grilled chicken or turkey bacon for a balanced meal.
Sodium Content
Each roll contains about 477 mg of sodium. While delicious, it's wise to be mindful of salt intake, especially if you're watching your sodium levels. Opt for low-sodium butter or reduce the salt in the recipe to customize your garlic dinner rolls to your dietary needs.
For more on nutrition, check out the USDA nutritional database for further insights into the ingredients. Enjoy baking these delightful rolls and savor every garlicky, buttery bite!
FAQs about Garlic Dinner Rolls
Can I make these rolls ahead of time?
Absolutely! You can prepare the garlic dinner rolls dough the night before. Just let it rise in the fridge overnight. In the morning, divide and assemble the rolls, let them rise a bit longer if needed, and then bake. It's a fantastic way to save time and still enjoy fresh, homemade rolls at dinner.
What's the secret to fluffy rolls?
The key to achieving fluffy garlic dinner rolls lies in the yeast and the kneading process. Using instant yeast ensures a quicker rise, while kneading the dough until it's smooth and elastic helps incorporate air. Be sure not to skip the resting period; this is when the rolls become light and airy!
How do I store garlic dinner rolls?
To maintain their deliciousness, store your garlic dinner rolls in a sealable plastic bag at room temperature. They'll stay fresh for a couple of days. If you want to keep them longer, freeze them, then simply rewarm in a low oven when you're ready to enjoy them again. For tips on freezing bread, check out this helpful guide.
Conclusion on Garlic Dinner Rolls
Homemade garlic dinner rolls add a delightful touch to any meal, bringing warmth and comfort to your table. Now that you’ve crafted these scrumptious rolls, enjoy them fresh out of the oven or stored for later. Share them with friends, and don't forget to explore variations—think herbs or cheeses!
Garlic Dinner Rolls
Equipment
- 9x13-inch baking pan
Ingredients
Dough
- 1 tablespoon unsalted butter for the baking pan
- 4.5 cups all-purpose flour (562 g)
- 5 tablespoons sugar (71 g)
- 2 envelopes Instant Yeast
- 2 teaspoons kosher salt
- 1.33 cups whole milk
- 0.25 cups unsalted butter cubed
- 1 large egg
- 2 large egg yolks
Filling
- 6 tablespoons unsalted butter cubed and softened to room temperature
- 6 cloves garlic grated
- 0.25 cups fresh Italian parsley finely chopped
- 1 teaspoon kosher salt
Topping
- 1 large egg beaten, for egg wash topping
- 2 tablespoons unsalted butter
- Flakey sea salt
Instructions
Make the Dough
- Butter a 9-inch by 13-inch baking pan and set aside.
- In the bowl of a stand-up mixer, add the flour, sugar, yeast, and salt. Mix until combined.
- In a small pot, warm the milk and butter over medium-low heat until the butter is melted. It should be lukewarm.
- Pour the liquid mixture into the dry ingredients. Beat the egg and egg yolks together and add to the mixture. Knead with the machine for about 5-7 minutes.
- Rub a medium bowl with oil and transfer the dough to the bowl. Cover and allow to rise for 30-40 minutes or in the fridge for 12-24 hours.
Make the Filling
- Combine the softened butter, garlic, parsley, and kosher salt in a bowl and mix thoroughly.
Assemble the Rolls
- Turn the dough out onto a floured surface, roll into a 13 by 21-inch rectangle.
- Spread the filling onto the dough.
- Fold the dough like a letter, chill if warm, and cut into 15 strips.
- Wrap each strip and place in the greased pan. Allow to rise for about 1-1.5 hours.
- Preheat the oven to 350°F, brush with egg wash, and bake until golden brown, about 20 minutes.
Garnish
- Brush tops with the butter mixture and sprinkle with flakey sea salt.


Leave a Reply