
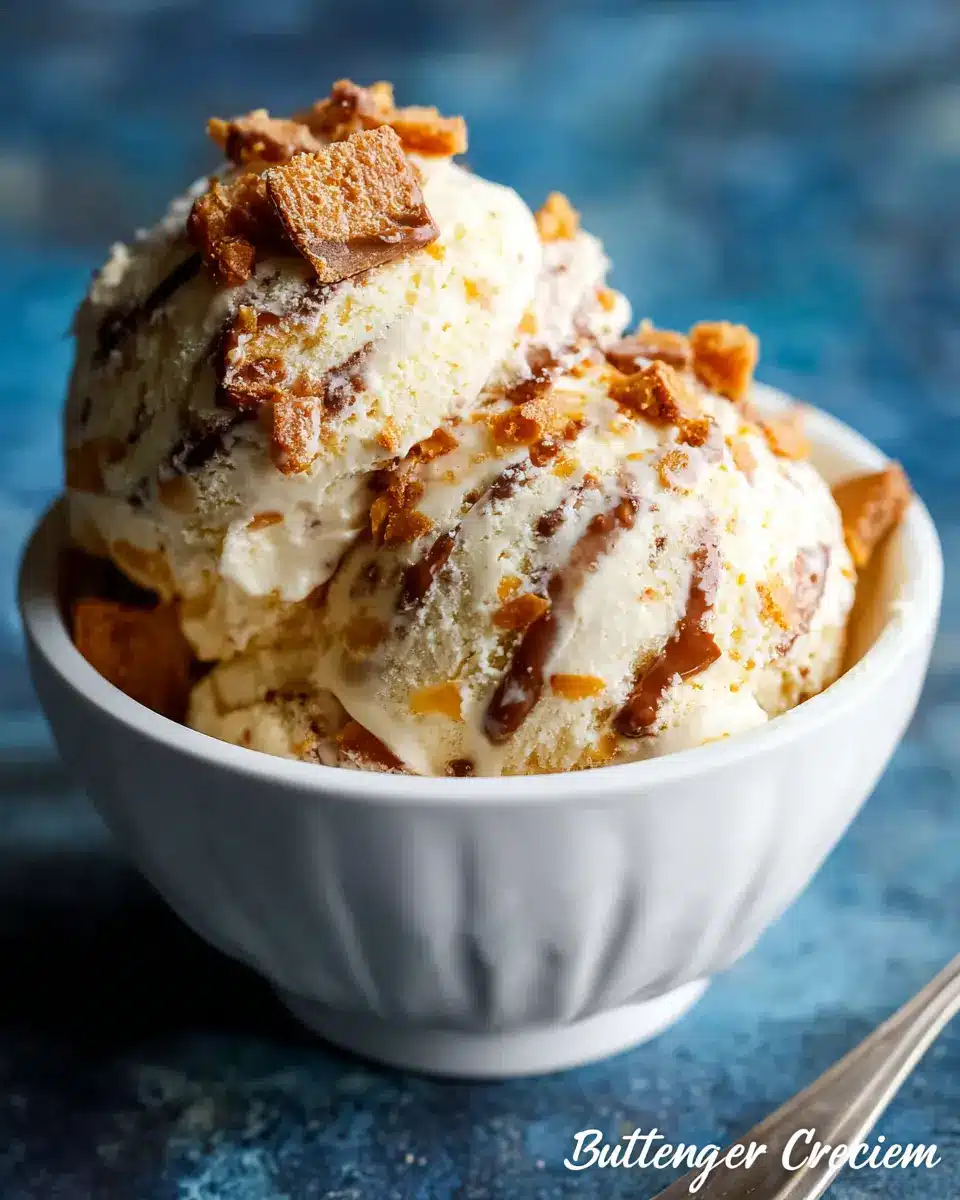
Introduction to Homemade Butterfinger Ice Cream
When it comes to beating the summer heat, nothing quite satisfies like a scoop of ice cream. For young professionals constantly on the go, making your own frozen treats can be a game changer. Not only does this homemade Butterfinger ice cream recipe let you create a delicious, creamy delight, but it also allows you to control the ingredients, resulting in a healthier version of a nostalgic favorite. You can customize it just the way you like!
Have you ever thought about how the process of making ice cream can be a stress reliever? The rhythmic act of churning and mixing serves as a mini escape from your busy life. Plus, it’s a fun way to impress friends at gatherings or simply enjoy a quiet evening treat at home. Did you know that studies show the process of cooking can boost your mood? By incorporating a bit of creativity into your routine, you can enjoy a delicious dessert without the guilt of store-bought versions filled with additives.
So, grab your ice cream maker and get ready to whip up something special—it’s time to dive into this exciting journey of flavor and fun with our easy homemade Butterfinger ice cream recipe!
Ingredients for Homemade Butterfinger Ice Cream
Essential ingredients for a creamy base
Creating a delightfully creamy base for your homemade butterfinger ice cream recipe starts with a few essential ingredients. You'll need:
- 1 pint of heavy cream: This is key for achieving that rich, decadent mouthfeel.
- 1 can (12 oz) of evaporated milk: It adds creaminess without being overly sweet.
- 1 can (14 oz) of sweetened condensed milk: This is where the magic happens, lending that perfect sweetness.
- 4 cups of whole milk: The foundation of your ice cream mix.
- 1 box (3.4 oz) of vanilla instant pudding: Helps to stabilize the mixture and contributes to that luscious texture.
- ¾ cup of sugar: Just the right amount to enhance the flavor.
Butterfinger bars: The star of the show
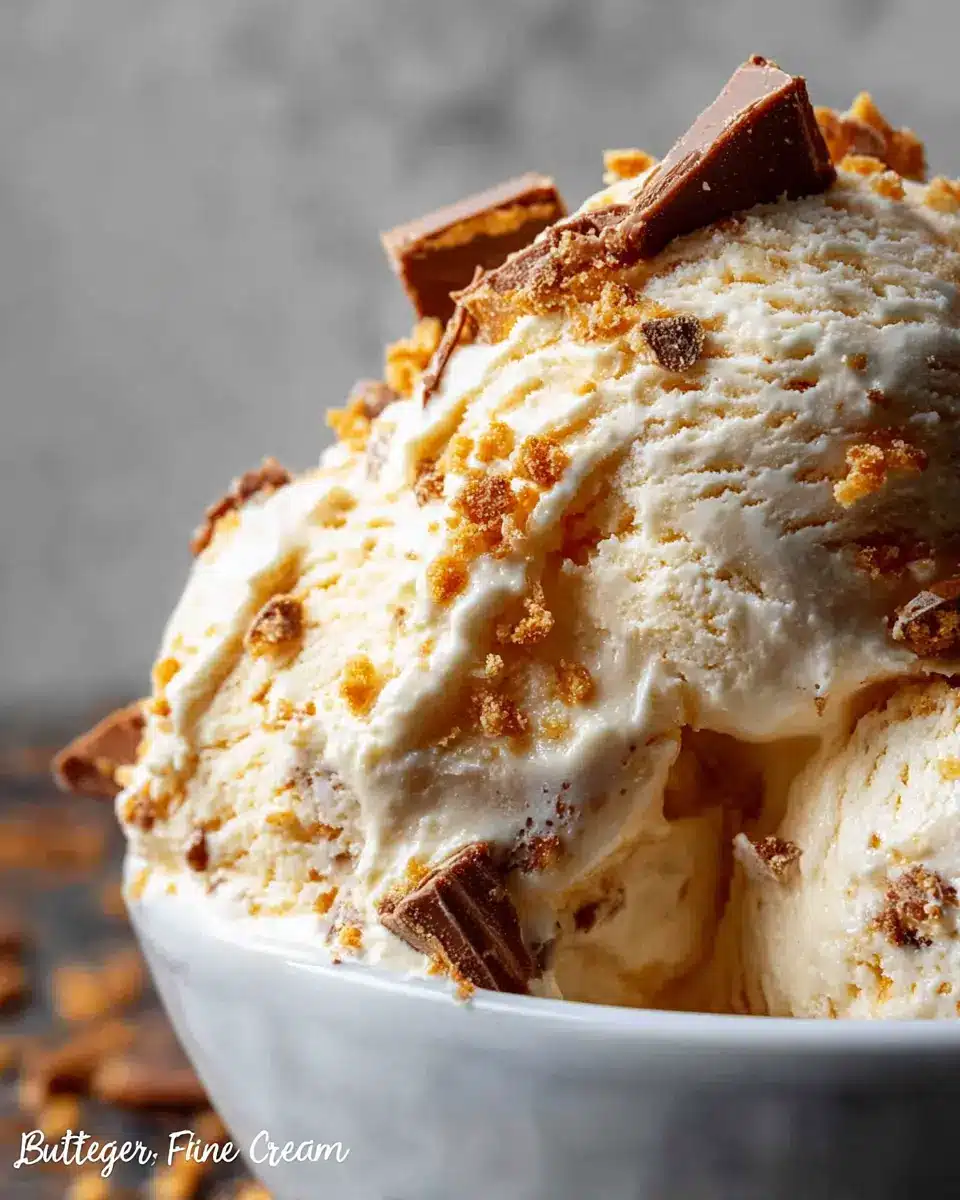
No homemade butterfinger ice cream recipe would be complete without the star ingredient: Butterfinger bars! For this recipe, you’ll need:
- 5 Butterfinger bars (1.9 oz each), crushed: These bars bring that iconic peanut butter and chocolate flavor, creating delightful chunks in every scoop. Not only will they elevate your ice cream, but they also bring that nostalgic crunch!
With these ingredients in hand, you're on your way to making a truly unforgettable dessert. How perfect would it be to impress your friends with this creamy, dreamy creation? Let’s dive in and make some ice cream magic!
Step-by-step Preparation of Homemade Butterfinger Ice Cream
Creating a delicious homemade Butterfinger ice cream is easier than you might think! Follow these simple steps for a creamy, sweet treat that will impress your friends and family.
Gather your ingredients
Before you dive into mixing and churning, it’s crucial to get all your ingredients ready. Here’s what you’ll need:
- 1 pint heavy cream
- 1 12 oz can evaporated milk
- 1 14 oz can sweetened condensed milk
- 4 cups whole milk
- 1 3.4 oz box vanilla instant pudding
- ¾ cup sugar
- 4 Tablespoons vanilla extract
- 5 1.9 ounce Butterfinger bars, crushed
Having everything prepared in advance will streamline the process, making your ice cream-making experience more enjoyable.
Whisk the base mixture
Once you've gathered all your ingredients, it's time to create the base mix! In a large bowl, combine the heavy cream, evaporated milk, sweetened condensed milk, whole milk, vanilla pudding, sugar, and vanilla extract. Using a whisk, beat the mixture until it’s nice and smooth, ensuring everything is well combined. This step is where the magic begins, as the blend of milk and cream introduces the perfect creaminess you'll love in your ice cream.
Chill the mixture for the perfect texture
After whisking, it’s important to chill the mixture. Cover your bowl and place it in the refrigerator for 2-3 hours. This chilling phase is essential as it helps enhance the flavor and improves the texture of the ice cream. You want it to be very cold before it hits the ice cream maker!
Churn in the ice cream maker
Now comes the fun part! Pour your chilled mixture into your ice cream maker. Follow your machine’s instructions, usually churning for about 20-25 minutes, until it reaches a soft-serve consistency. For best results, consider using a reliable ice cream maker like the Cuisinart 1.5 Quart Ice Cream Maker.
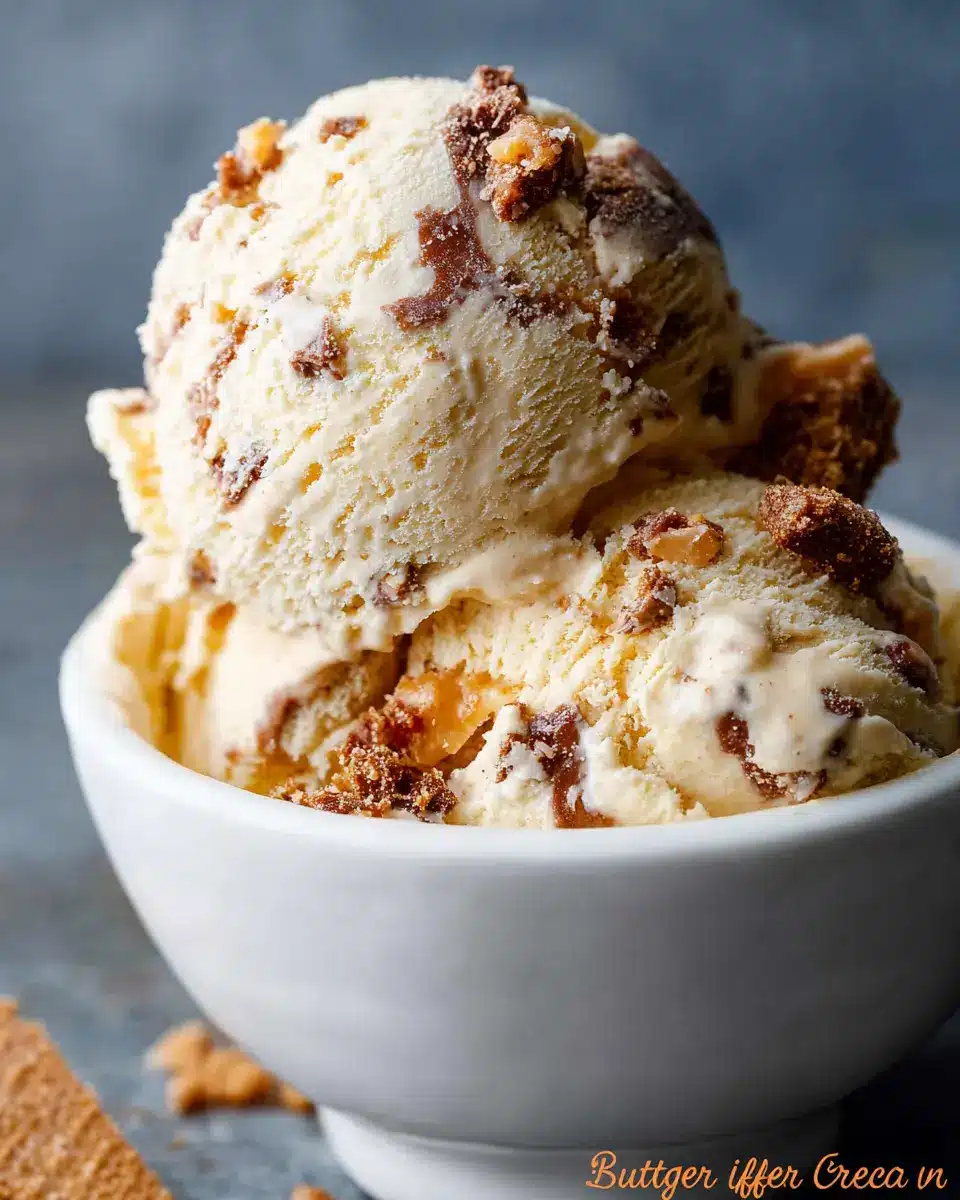
Fold in those delicious Butterfinger chunks
Before the churning process is complete (about 5 minutes before), add in the crushed Butterfinger bars. Gently fold them into the mix, allowing chunks to distribute evenly throughout the ice cream. These bits will provide a delightful crunch and a burst of flavor in every scoop. Trust me, you won’t want to skip this step!
There you have it—your own homemade Butterfinger ice cream! After churning, you can either serve it immediately for a softer texture or transfer it to an airtight container to freeze for a firmer consistency. Enjoy your sweet creation!
Variations of Homemade Butterfinger Ice Cream
Peanut Butter Swirl Option for a Nutty Twist
Elevate your homemade Butterfinger ice cream by swirling in creamy peanut butter! Simply melt a few tablespoons of peanut butter and drizzle it into the ice cream during the last moments of churning. The result? A delightful combination of chocolatey and nutty flavors that will leave you craving more!
Chocolate Fudge Ripple Addition for Extra Indulgence
For those looking to indulge a little further, a chocolate fudge ripple is a fantastic addition. Prepare a simple fudge sauce by combining cocoa powder, sugar, and milk in a saucepan, then swirl this rich chocolate goodness into your ice cream as it churns. Each scoop will be a decadent surprise, making your homemade Butterfinger ice cream recipe a showstopper at any gathering.
These easy variations not only enhance flavor but also allow you to personalize your treats. So, which one will you try first?
Cooking Tips and Notes for Homemade Butterfinger Ice Cream
How to avoid ice crystals in your ice cream
To keep your homemade Butterfinger ice cream recipe creamy and smooth, it’s essential to minimize ice crystals. One effective method is to ensure that you churn the mixture long enough—about 20-30 minutes—until it thickens. If icy crystals do form, a quick stir before serving can help break them up. You can also use a higher fat content cream, as it lowers ice crystal formation.
Importance of a well-chilled mixing bowl
A frosty mixing bowl is crucial for achieving the best texture. Be sure to chill your bowl in the freezer for at least 30 minutes before use. A cold bowl keeps the mixture cool while you whip it, promoting a velvety, creamy finish that’s perfect for your ice cream. Plus, it makes it easier for the ice cream maker to work its magic, preventing premature melting.
By incorporating these tips, you'll enjoy a delightful, homemade treat that's far superior to store-bought options!
Serving Suggestions for Homemade Butterfinger Ice Cream
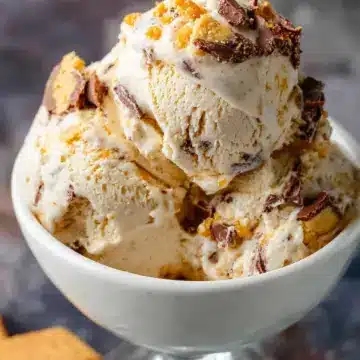
Creative ways to serve and present your ice cream
Make your homemade Butterfinger ice cream stand out by serving it in extravagant ways! Consider using waffle cones or bowls lined with chocolate syrup for a delightful touch. Enjoy a fun extra scoop of ice cream drizzled with caramel and topped with more crushed Butterfinger pieces. For a party, use clear cups for individual servings and garnish with whipped cream and a sprinkle of crushed nuts.
Perfect pairings for a delightful dessert experience
To enhance your dessert, pair your ice cream with delectable sides! Choose from:
- Chocolate sauce for a gooey complement.
- Fresh fruit, like bananas or strawberries, to balance the richness.
- Shortbread cookies for a delightful crunch.
These combinations will create an unforgettable dessert experience. Check out more serving ideas and tips on food-friendly sites like Food Network and Serious Eats.
Time Breakdown for Homemade Butterfinger Ice Cream
Preparation time: Quick and easy!
The homemade Butterfinger ice cream recipe starts off easily. You only need about 10 minutes to gather your ingredients and mix them together. That’s right—just a few moments in the kitchen and you’re on your way to a delicious treat!
Chilling time: Important for a creamy texture
Once your mixture is ready, it’s important to let it chill in the fridge for at least 2-3 hours. This step ensures your ice cream achieves that super creamy texture we all love! Patience is key here—it’s worth the wait for that melt-in-your-mouth goodness.
Total time: A delicious project worth the wait
From start to finish, you’re looking at around 4 hours and 10 minutes. Most of that time is chilling, meaning you can use the wait to plan your next movie night or just enjoy some relaxation. The end result? A rich and decadent homemade dessert that will impress family and friends alike!
Nutritional Facts for Homemade Butterfinger Ice Cream
Calories per serving
Each serving of this delicious homemade Butterfinger ice cream contains approximately 385 calories. It’s the perfect indulgence for a warm day or a special treat, but it's always good to be aware of what you're enjoying!
Sugar content and other nutrition highlights
With 42 grams of sugar per serving, this ice cream is definitely on the sweeter side, primarily from the Butterfinger bars and added sugars. Here are some noteworthy nutritional highlights:
- Fat: 19 grams (including 12 grams of saturated fat)
- Protein: 7 grams
- Carbohydrates: 46 grams
- Cholesterol: 56 mg
- Calcium: 235 mg – a nice boost for those looking to keep their bones strong!
Keep in mind that while this homemade Butterfinger ice cream recipe is indulgent, enjoying it in moderation can still fit into a balanced diet. If you’d like to cut down on sugar, consider reducing the amount of sugar in the mixture or using a sugar substitute. Remember, you can always customize your ingredients!
FAQs about Homemade Butterfinger Ice Cream
Can I make this ice cream without an ice cream maker?
Absolutely! If you don’t have an ice cream maker, you can still create this delicious homemade Butterfinger ice cream recipe using a simple no-churn method. Just pour the mixture into a large, airtight container after whisking the ingredients. Stir it every 30 minutes for the first 2-3 hours as it freezes, to help incorporate air and prevent ice crystals from forming. The result will be creamy and delightful!
How long can I store my homemade ice cream?
You can enjoy your homemade Butterfinger ice cream for up to 2-3 weeks when stored in an airtight container in the freezer. To maintain its creamy texture, make sure to keep it sealed tight. Don’t forget to let it sit at room temperature for a few minutes before scooping—this makes it easier to serve!
Are there healthier ingredient substitutes I can use?
Certainly! If you're looking for healthier options, consider swapping heavy cream for coconut cream or using almond milk instead of whole milk. You can also reduce the sugar by using a natural sweetener like honey or maple syrup. For a lower-calorie option, try sugar-free Butterfinger candy (if you can find it) or other similar treats. This way, you can enjoy your ice cream guilt-free while still savoring that rich Butterfinger taste!
Conclusion on Homemade Butterfinger Ice Cream
Trying your hand at this homemade Butterfinger ice cream recipe is a delightful and rewarding experience! Not only does it satisfy your sweet tooth, but it also brings joy to friends and family. With simple ingredients and an easy process, this indulgent treat is a must-make at home.
Homemade Butterfinger Ice Cream Recipe
Equipment
- ice cream scoop
- Cuisinart 1.5 Quart Ice Cream Maker
- Cuisinart 1-½-Quart Freezer Bowl
Ingredients
- 1 pint heavy cream
- 1 12 oz can evaporated milk
- 1 14 oz can sweetened condensed milk
- 4 cups whole milk
- 1 3.4 oz box vanilla instant pudding
- ¾ cup sugar
- 4 Tablespoons vanilla extract
- 5 1.9 ounce Butterfinger Bars crushed
Instructions
- In a large bowl, whisk together cream, evaporated milk, sweetened condensed milk, whole milk, pudding mix, sugar, and vanilla.
- Cover and chill for 2-3 hours, or until very cold.
- Pour chilled mixture into an ice cream maker, and churn according to manufacturer's instructions.
- During the last 5 minutes of churning, add the crushed Butterfinger pieces.
- Serve immediately, or pour into an airtight container and freeze for two hours or more.
Leave a Reply