
The Allure of Japanese Desserts
When you think of desserts, what comes to mind? For many, it's the classic cakes and pastries of Western cuisine. However, the world of Japanese desserts is enchanting and offers a delightful experience that’s worthy of exploration. Among these treats, the Japanese cotton sponge cake stands out for its unique texture and lightness that feels almost ethereal.
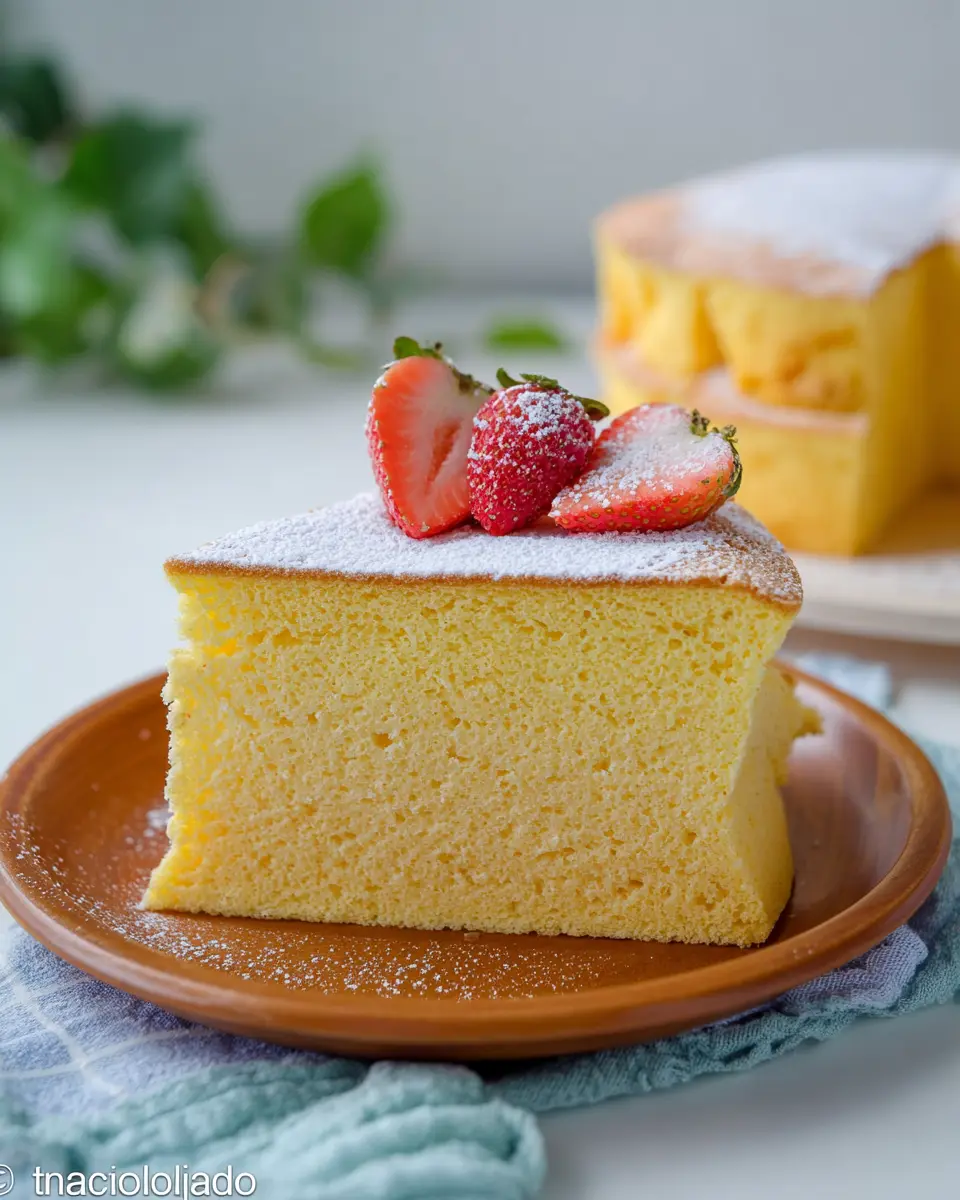
Characterized by its airy structure and subtle sweetness, this cake embodies the Japanese philosophy of simplicity and refinement. Made primarily from eggs, flour, and sugar, it showcases the beauty of minimal ingredients working in harmony. Each bite melts in your mouth, making it perfect for afternoon tea or as a light dessert after a meal.
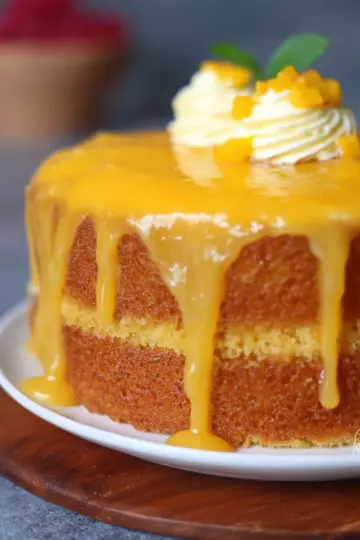
As you experiment with this recipe, consider its versatility. The cake can be served plain, adorned with fresh fruits, or filled with jam and cream for added flair. Intrigued? For more insight into Japanese desserts, check out resources on traditional sweets or visit local Japanese bakeries.
Once you try your hand at making a Japanese cotton sponge cake, you may find yourself quite enchanted by the delightful way it transforms an ordinary dessert into something extraordinary. Why not give it a go? The excitement of creating this light, fluffy cake will surely add a touch of joy to your culinary adventures!
Ingredients for Japanese Cotton Sponge Cake
Essential ingredients for the perfect sponge cake
To create an irresistible Japanese cotton sponge cake, you'll need some simple yet essential ingredients that ensure your cake turns out fluffy and delicious. Gather the following:
- Flour: Use ½ cup of all-purpose flour or gluten-free rice flour if you prefer.
- Cornstarch: 2 ½ tablespoons are ideal for lightening the texture.
- Milk: ½ cup of lactose-free milk or your favorite plant-based alternative.
- Sunflower oil: 2 ½ tablespoons help keep the cake moist.
- Eggs: You'll need the yolks and whites from 5 eggs, with 4 yolks and 1 whole egg mixed into the batter.
- Sugar: 7 tablespoons, or feel free to substitute with 30 g of powdered stevia for a sugar-free version.
Gluten-free and lactose-free options
If you’re exploring gluten-free or lactose-free options, don’t worry—this Japanese cotton sponge cake can accommodate your dietary needs! Simply swap in gluten-free rice flour for regular flour, and choose lactose-free milk with less than 0.01% lactose. Alternatively, try using plant-based milk like almond or oat for a dairy-free touch. This way, everyone can enjoy the cake’s exquisite softness without sacrificing flavor! For more gluten-free tips, check out resources like the Celiac Disease Foundation.
Preparing Japanese Cotton Sponge Cake
Creating the perfect Japanese cotton sponge cake is a fulfilling experience! With its light and fluffy texture, this cake is a delightful treat that feels like a warm hug in dessert form. Let’s break down the steps to help you make your own—whether you’re new to baking or a seasoned chef looking to fine-tune your skill!
Prepare Your Kitchen
Before diving into the baking process, ensure your kitchen is tidy and equipped. Gather all your tools and ingredients:
- Tools: A springform pan (8.5-9 inches), a mixer, and two mixing bowls.
- Ingredients: You’ll need flour, cornstarch, milk, sunflower oil, eggs, and sugar*.
Make sure your oven is preheated to 320°F (160°C). A well-organized workspace will make baking smoother and more enjoyable. Take a moment to appreciate the joy of cooking; the process can be just as satisfying as enjoying the end product!
Whisking the Egg Yolks and Whites
The magic of the Japanese cotton sponge cake happens in the mixing! Start by separating your egg yolks from the whites with precision—this step is crucial for achieving that airy texture. In one bowl, whisk the egg yolks with the oil and milk until thoroughly combined.
In a separate bowl, beat the egg whites using your mixer until they start to foam. Gradually add half the sugar and keep whisking until firm peaks form. This is where all the air goes in, making your cake fluffy. A hint of patience here goes a long way, and the results will be worth the wait!
Combining Wet and Dry Ingredients
Once your egg yolk mixture is ready, it's time to combine the wet and dry components. Sift in the flour and cornstarch, stirring gently. This helps prevent lumps, ensuring a beautifully smooth batter. The goal is to maintain the airiness you’ve created with the egg whites while achieving a deliciously dense yet soft cake.
Folding in the Egg Whites
Now comes the critical step of folding in the egg whites into the batter. Start by adding about one-third of the whipped egg whites to the batter and gently mix until incorporated. This helps to lighten the mixture without deflating the whites. Gradually fold in the remaining egg whites using a spatula, carefully mixing from the bottom up to maintain volume. It’s delicate work, but with practice, you’ll get the hang of it!
Baking the Cake
Pour your batter into the prepared springform pan and place it in the preheated oven. Bake for 60-70 minutes, but keep an eye on it—it’s essential to avoid overbaking. If you’re unsure, perform the toothpick test! Insert a toothpick into the center; it should come out clean. Once done, remove it from the oven and let it cool for a while before transferring to a wire rack.
There you have it! Your very own Japanese cotton sponge cake is ready to be enjoyed or filled with your favorite jams or creams. Don’t forget to share your creations and connect with fellow baking enthusiasts on platforms like Instagram for inspiration! Happy baking!
Variations on Japanese Cotton Sponge Cake
Gluten-free rice flour sponge cake
If you're looking to enjoy a delectable Japanese cotton sponge cake while avoiding gluten, using rice flour is a fantastic option! Rice flour provides a similar texture and fluffiness without compromising on flavor. The gluten-free version of this cake remains wonderfully soft and can be a perfect treat for those with dietary restrictions. Just make sure to double-check that all your ingredients are labeled gluten-free for peace of mind.
Flavor variations: matcha and chocolate
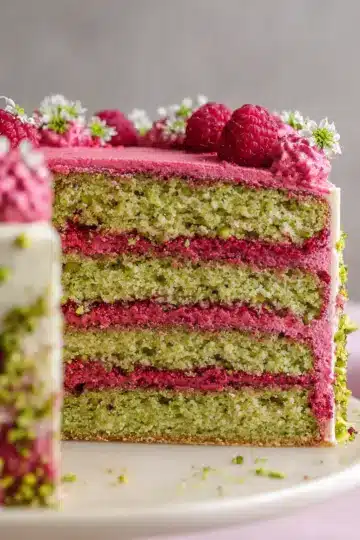
Why stop at classic when you can elevate your Japanese cotton sponge cake with exciting flavors? Adding matcha gives it an earthy depth while still retaining that signature lightness. Alternatively, incorporate cocoa powder to create a rich chocolate version that will surely satisfy your sweet tooth. These variations not only tantalize your taste buds, but they also add a unique twist to this beloved dessert!
For tips on how to incorporate these flavors into your recipe, check out this great guide on matcha and chocolate baking. Enjoy!
Baking Tips for Japanese Cotton Sponge Cake
Maintaining the Cake's Fluffiness
To achieve that iconic fluffiness in your Japanese cotton sponge cake, it's crucial to gently fold in the whipped egg whites. Use a spatula to incorporate the whites in three additions, which will help maintain airiness. Be patient! Take your time while folding to ensure the batter remains light and airy.
Oven Temperature and Timing
Setting your oven to the correct temperature, 320°F, is vital for a perfectly baked sponge. For the best results, bake for 60-70 minutes, ensuring it's fully cooked without over-browning. To check for doneness, insert a toothpick; it should come out clean. Remember to avoid opening the oven door frequently, as sudden temperature changes can affect the cake's rise.
For further insights on baking techniques, check out this resource to expand your culinary skills!
Serving suggestions for Japanese Cotton Sponge Cake
Pairing with jams or creams
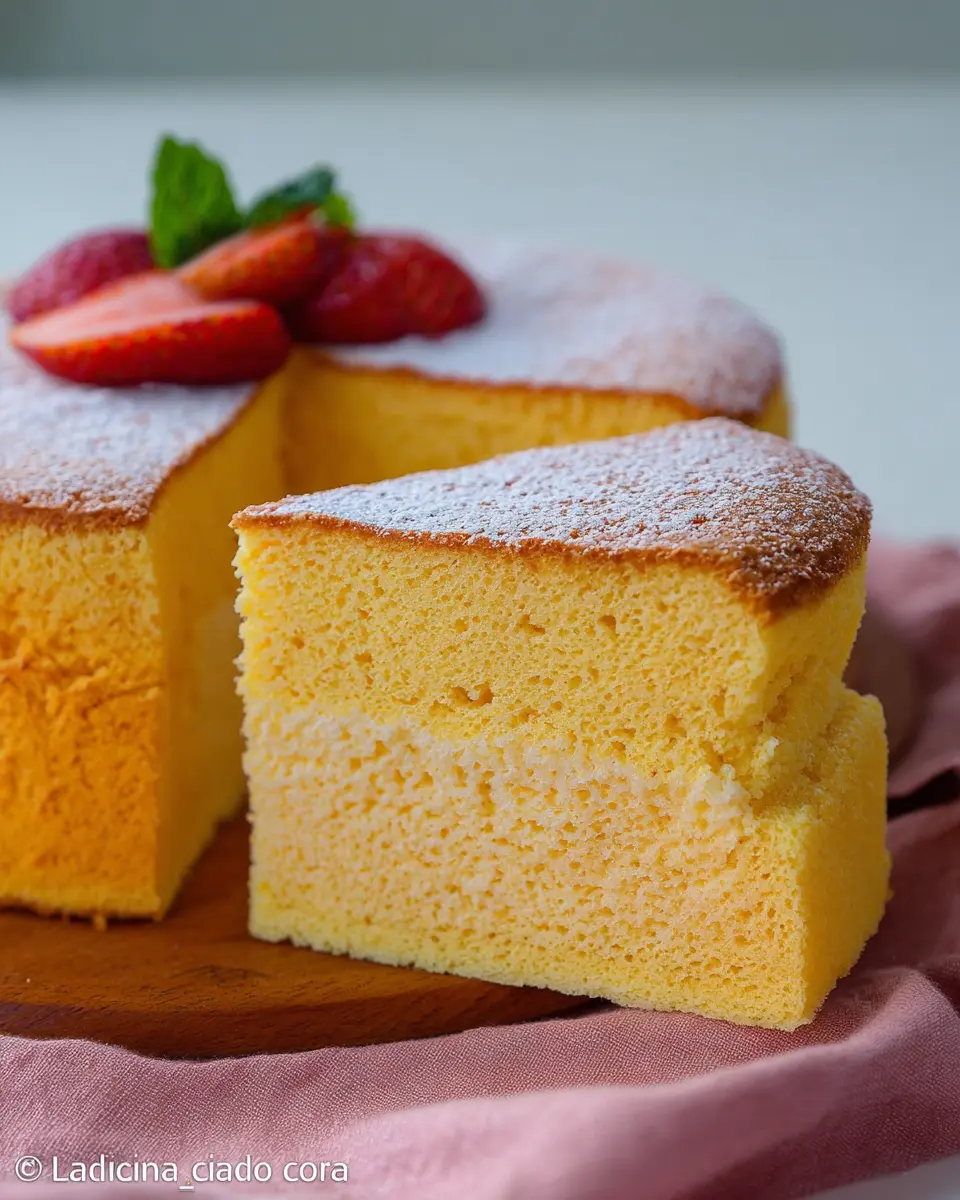
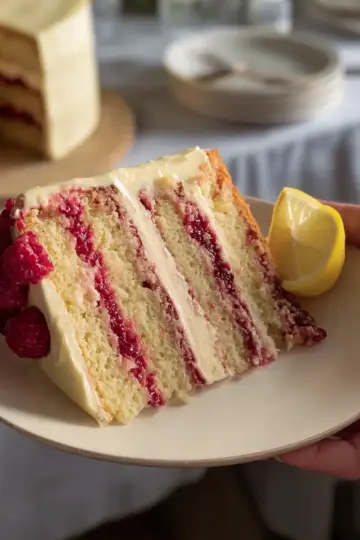
The Japanese cotton sponge cake is wonderfully versatile, making it perfect for a variety of toppings. Consider serving it with seasonal jams, like strawberry or apricot, for a burst of flavor. If you’re in the mood for something creamier, whipped cream or a luscious chocolate ganache can take this cake to the next level. You can even mix in some fresh fruits for added texture!
Unique presentation ideas
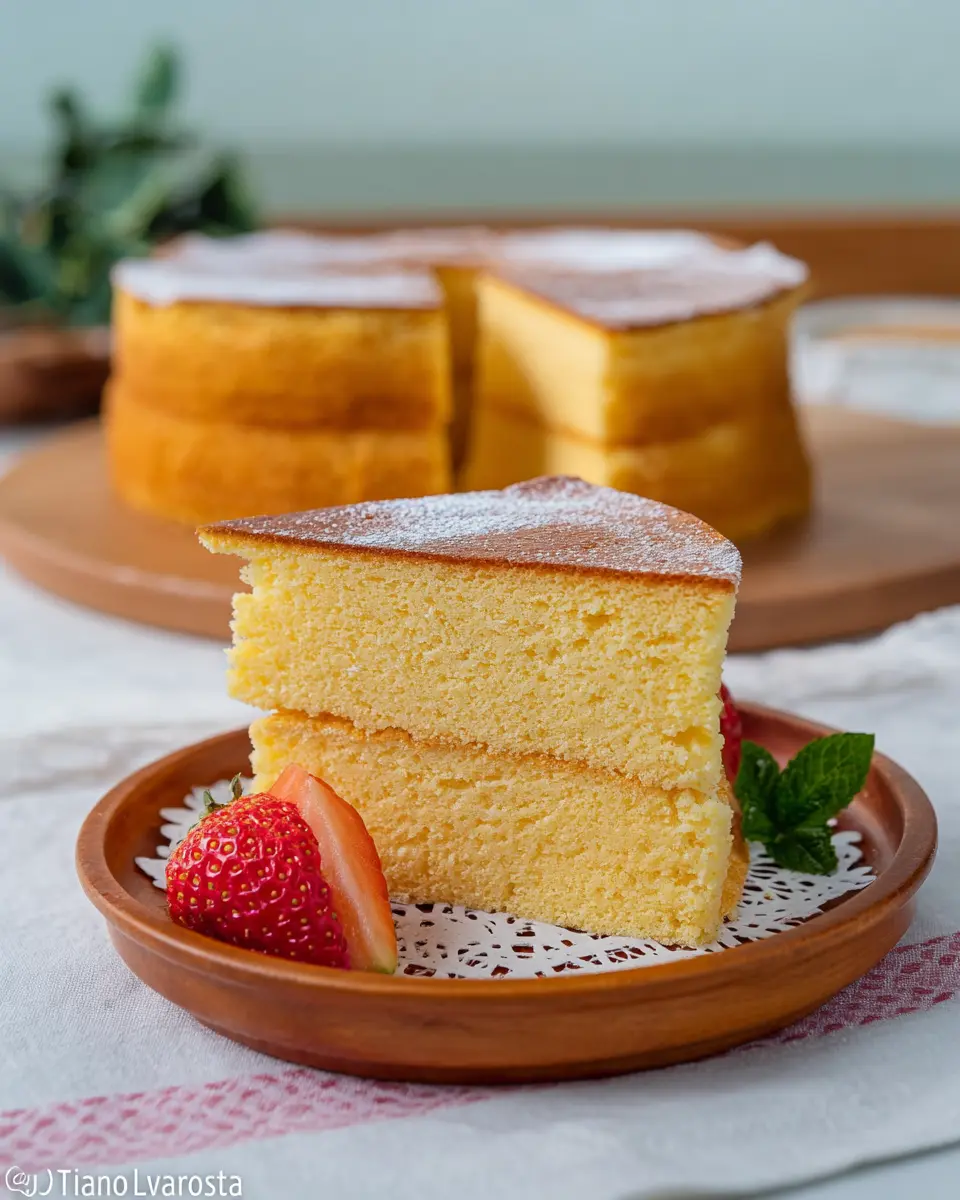
Elevate your Japanese cotton sponge cake by exploring creative presentation ideas. Slice it into generous pieces and stack them into a whimsical dessert tower. Alternatively, serve individual portions in elegant cups layered with fruit and cream. For a charming touch, dust the top with powdered sugar or decorate with edible flowers. The key is to keep it simple yet visually appealing, showcasing its light and airy texture. This way, every bite becomes a delightful experience!
Time Details for Japanese Cotton Sponge Cake
Preparation Time
The preparation for your delightful Japanese cotton sponge cake takes just 15 minutes. This quick setup includes gathering your ingredients, separating eggs, and mixing together the batter, making it perfect for a busy day or impromptu dessert cravings.
Baking Time
Once your batter is ready, bake the cake in the oven for 60 to 70 minutes. This slow baking allows your cake to rise beautifully, resulting in that airy texture we all adore.
Total Time
In total, you’re looking at just over 1 hour and 15 minutes from start to finish to enjoy this fluffy treat. Remember, patience is key, especially when it comes to letting it cool before serving!
For more tips and tricks about baking, you can check out resources like the Joy of Baking or Sally's Baking Addiction. Happy baking!
Nutritional Facts for Japanese Cotton Sponge Cake
Calories
A slice of Japanese cotton sponge cake contains approximately 130 calories. This makes it a delightful treat that won’t derail your healthy eating habits when enjoyed in moderation.
Sugar Content
Each slice comprises about 10 grams of sugar, depending on your choice of sweetener. This allows you to indulge your sweet tooth without overwhelming your diet.
Protein
With around 3 grams of protein per slice, this cake can contribute to your daily protein intake, especially when paired with high-protein accompaniments like yogurt or a creamy cheese filling.
For more nutritional insights and tips, you might find these resources helpful:
Enjoy your baking and the soft, airy goodness that is the Japanese cotton sponge cake!
FAQs about Japanese Cotton Sponge Cake
Why is it called ‘cotton’ sponge cake?
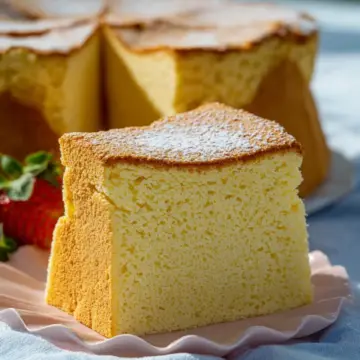
The term “cotton” in Japanese cotton sponge cake describes its ethereal softness and airy texture, reminiscent of cotton. Made with a delicate balance of ingredients, the cake achieves a unique lightness that is almost cloud-like. This isn’t just any sponge cake; it embodies the meticulous craftsmanship of Japanese baking techniques, focusing on achieving an extraordinary fluffiness that melts in your mouth.
How do I know when the cake is done?
To check if your Japanese cotton sponge cake is done, gently press the top with your finger. If it springs back, it’s ready! Alternatively, you can insert a toothpick into the center; it should come out clean or with a few moist crumbs. Remember, ovens can vary, so keep an eye on your cake, especially as it nears the 60-minute mark.
Can I freeze the Japanese cotton sponge cake?
Yes, you can freeze a Japanese cotton sponge cake! Just wrap it tightly in plastic wrap and place it in an airtight container. It freezes well for up to three months. To enjoy, thaw it overnight in the refrigerator, then allow it to come to room temperature before serving for the best texture. Happy baking!
Conclusion on Japanese Cotton Sponge Cake
In summary, the Japanese cotton sponge cake is a delightful treat that captures the essence of lightness and fluffiness. This cake is versatile, easily adaptable to various dietary needs, and perfect for any occasion. Whether enjoyed plain or with fillings, it promises a sweet experience that's hard to resist.
Japanese cotton sponge cake
Equipment
- Baking pan – springform pan 8.5/9 inches
- mixer
- bowls
Ingredients
Dry Ingredients
- ½ cup flour (or gluten-free rice flour)
- 2.5 tablespoon cornstarch (corn flour) (gluten-free)
Wet Ingredients
- ½ cup milk (lactose-free with lactose less than 0.01% or plant-based)
- 2.5 tablespoon sunflower oil
Eggs
- 4 egg yolks
- 1 egg
- 4 egg whites
Sweetener
- 7 tablespoon sugar (or 30 g of powdered stevia)
Instructions
Baking Procedure
- Preheat the oven in static mode to 320°F.
- Separate the egg yolks from the egg whites. Heat the butter with the milk in a bain-marie, while if using oil this step is not necessary.
- Mix well with a whisk and add the flour with the cornstarch by sifting.
- Mix well to eliminate any lumps and add the yolks first and then the whole egg. Set aside.
- Start whisking the egg whites and as soon as they start foaming, add the first part of sugar or stevia, continue whisking and after a few minutes add the second part.
- When they are well puffed up, add the last part and continue to whisk until they are stable.
- Add ⅓ of the egg whites to the previously prepared mixture.
- Gently mix and as soon as they are incorporated, add the second part, always mixing from bottom to top.
- Add the third part and pour into a pan lined with parchment paper 9 inches.
- Bake for 60-70 minutes.
- Remove from the oven and immediately remove the pan and parchment paper.
- Let it cool before consuming.

Leave a Reply